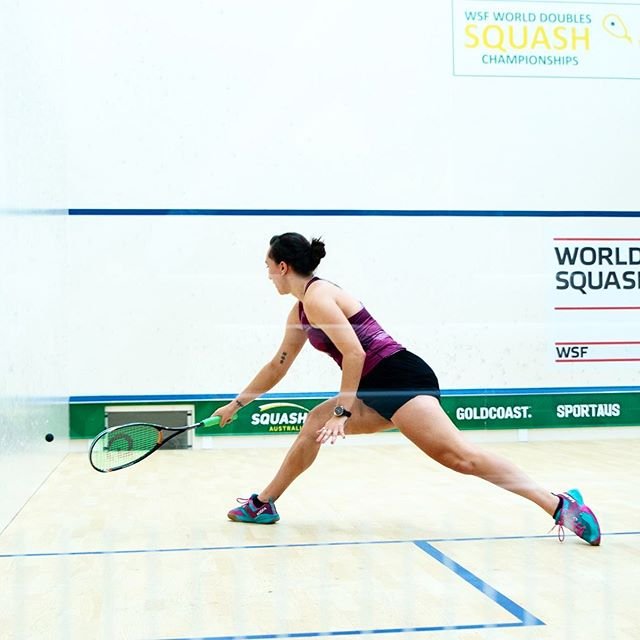

Seven shots run almost every rally you will ever play. This guide teaches each one the way a coach would: the grip and swing path, exactly where to make contact, when the shot is the right choice, the one beginner error that quietly ruins it — and a simple drill that builds it.
Here is the secret nobody tells new squash players: the game is not made of dozens of shots. Watch a club rally and nearly everything you see is one of seven strokes — the straight drive, the cross-court drive, the boast, the drop, the lob, the volley and the serve — played again and again at different heights, speeds and moments. Learn those seven properly and you do not just survive rallies; you start deciding how they end.
This is a technique guide, not a rulebook. It assumes you already know how a rally works — what counts as a good return, how the serve is structured, how points are scored. If any of that is still fuzzy, read our guide on how to play squash first; it covers the court, the serve sequence, PAR scoring and the let-and-stroke rules in full. Come back here when the rules make sense and the question has become a different one: how do I actually hit these shots?
One promise about how this guide is written: every shot is broken into the same five checkpoints — grip and swing path, contact point, when to play it, the beginner error, and one drill — so you can take a single shot to the court, work on it for ten minutes, and know exactly what “better” feels like. Technique first, improvisation later. That is how every good player you will ever watch was built.
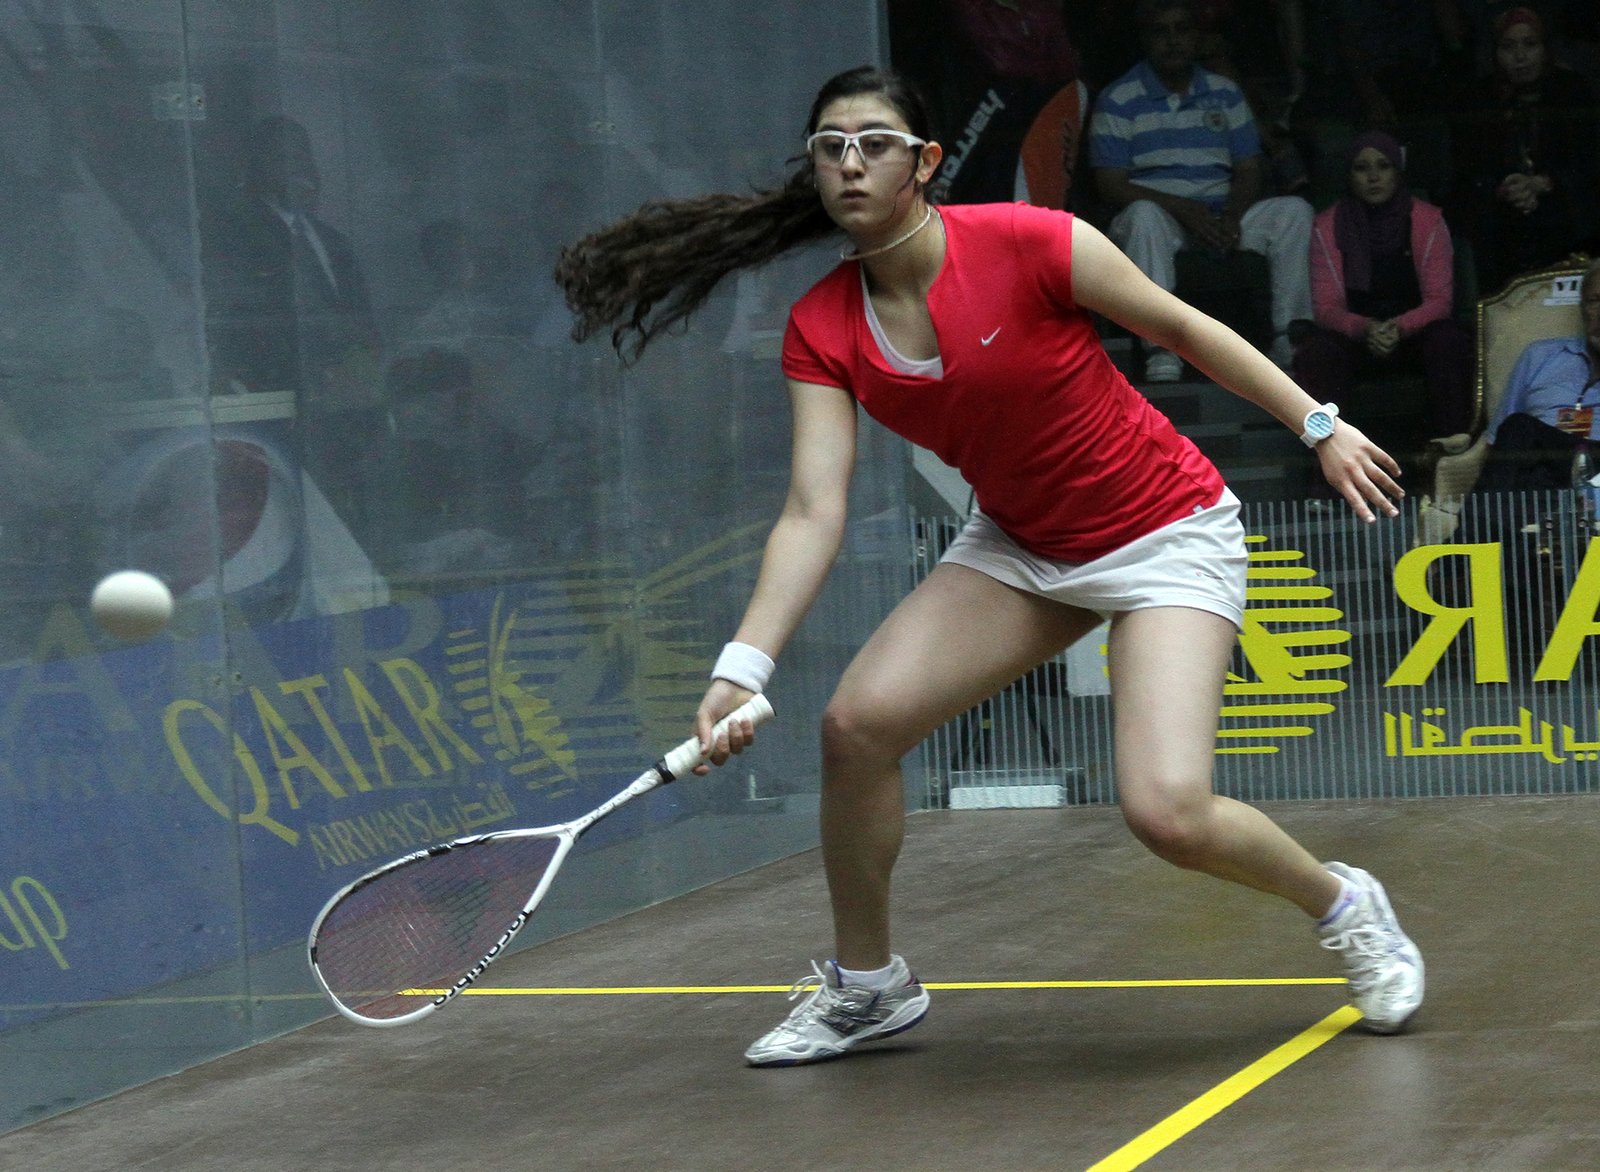
The whole shot library on one card
One grip — the handshake grip — serves every shot below; what changes is the swing path, the racket-face angle and where you meet the ball. The straight drive is your default: tight to the side wall, deep to the back. The cross-court moves the rally diagonally to the far corner. The boast uses the side wall to escape the back corners or pull your opponent forward. The drop finishes from the front: soft hands, just over the tin. The lob is your reset — high, slow, deep, buying you time to recover. The volley takes the ball early from around the T to steal your opponent’s time. And the serve starts it all: controlled, high and deep rather than fast. Master the drive first — the other six are built on its swing.
Straight drive
The rally’s bread and butter. Tight to the wall, dying in the back corner — most of your shots in any match will be this one.
Boast
Side wall first, front wall second. Gets you out of the deep corners and drags your opponent forwards and across.
Drop shot
Played from the front with soft hands: just over the tin, dying before your opponent can arrive. Only works if your drives have pushed them deep.
Lob
High, slow and deep to the back wall. The shot that turns a desperate scramble into a neutral rally and gives you your breath back.
In this guide
- Before the shots: grip, preparation and stance
- The straight drive: your default shot
- The cross-court drive
- The boast: the side wall does the work
- The drop shot: soft hands at the front
- The lob: the great reset
- The volley: taking time away
- The serve: technique, not power
- Putting it together: your first practice plan
- FAQs
Before the shots: grip, preparation and stance
Every shot below is played with the same grip and the same basic preparation. Get these three foundations right and the shots feel like variations on one theme; get them wrong and each shot becomes a separate battle with your own racket.
The grip: one handshake for everything
Pick the racket up as if you were shaking hands with the handle. Your palm sits behind the handle, and the V formed by your thumb and index finger runs along the top edge (the top bevel) of the handle. Spread your fingers slightly — a small gap between the index finger and the rest — rather than bunching them together, and hold the racket in your fingers more than in your palm. Two checks coaches use: the racket face should sit roughly vertical when your arm hangs relaxed, slightly open rather than closed shut; and you should be able to waggle the racket head with your wrist without your forearm straining. Grip firmly at the moment of contact, relaxed between shots — a permanently clenched grip is the hidden cause of most beginners’ tired forearms and late, flicky swings.
Crucially, you do not change grips between forehand and backhand. The same handshake grip plays both sides; what changes is how your arm and body organise around it. If you find yourself regripping as the ball crosses to your backhand, that — not your backhand itself — is the first thing to fix, because a grip change costs exactly the fraction of a second a rally does not give you.
Preparation: racket up, early, every time
Good squash looks unhurried because the swing starts before the ball arrives. As soon as you know which side the ball is coming to, get the racket up and back: elbow bent, racket head up around shoulder height or higher, wrist cocked so the racket face is open and ready. Coaches call this early preparation, and it matters more than swing speed — a short, prepared swing hits a cleaner ball than a long, rushed one, every time. The companion habit is watching the ball all the way onto your strings. Beginners look up at the front wall to see where their shot went; good players look at the ball until it has left the racket, and only then look up.
Stance and the lunge: how you arrive matters
For most shots you play side-on to the side wall you are hitting along, weight on the leg nearest the ball’s side, stepping into the shot and transferring your weight through it. At the front of the court that step becomes a lunge: a long final stride, front knee bent over the front foot, back leg trailing for balance, non-racket arm reaching back as a counterweight. The lunge is not just a way to reach the ball — arriving balanced is what lets you hit a controlled shot and push back out to the T afterwards. Lunging repeatedly is also why squash footwear is built for it: stable, low, non-marking court shoes with a reinforced toe and side wall. Our guide to the best squash shoes explains what to look for if you are still playing in running shoes.
And underneath it all sits the habit from our rules guide: hit, recover, watch. Whatever shot you play, your next job is to move back towards the T — the crossing point of the short line and the half-court line — set yourself balanced on the balls of your feet, racket up, and watch your opponent’s swing. Shots are individual events; that loop is the game between them.
The straight drive: your default shot
If you learn one shot this month, make it this one. The straight drive — players also call it a rail, or “hitting length” — travels tight along the side wall to the back of the court, and it is the shot that structures every rally. A good drive cannot be volleyed because it hugs the wall, cannot be attacked because it dies deep in the corner, and forces your opponent to hit from the worst position on court: stretched, at the back, with the wall in their way. Play it forehand and backhand; play it for most of your shots; build everything else on top of it.
Grip and swing path
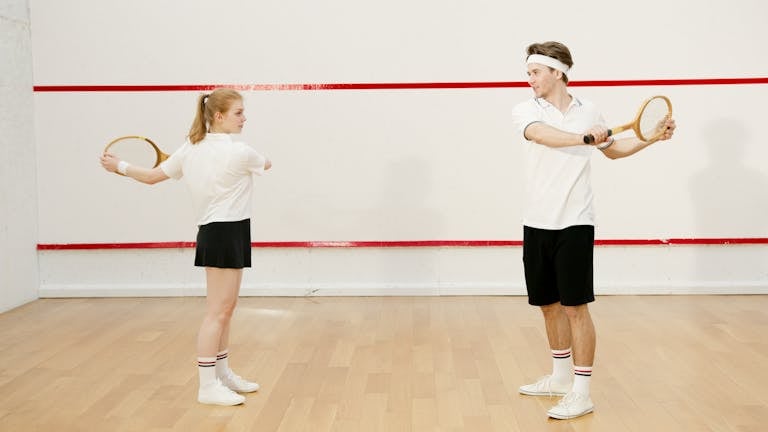
Standard handshake grip, no adjustment. The swing is a smooth high-to-low arc: racket prepared up and back early, then swung down and through the ball, finishing with the racket head up again in a follow-through that points roughly where the ball went. Think of throwing a ball underarm along the wall, not swatting at it. Your shoulders turn side-on as you prepare, then rotate through the shot as your weight transfers from the back foot to the front foot. The swing should feel unhurried and full — a half-swung drive is a short drive, and a short drive is a gift.
Contact point
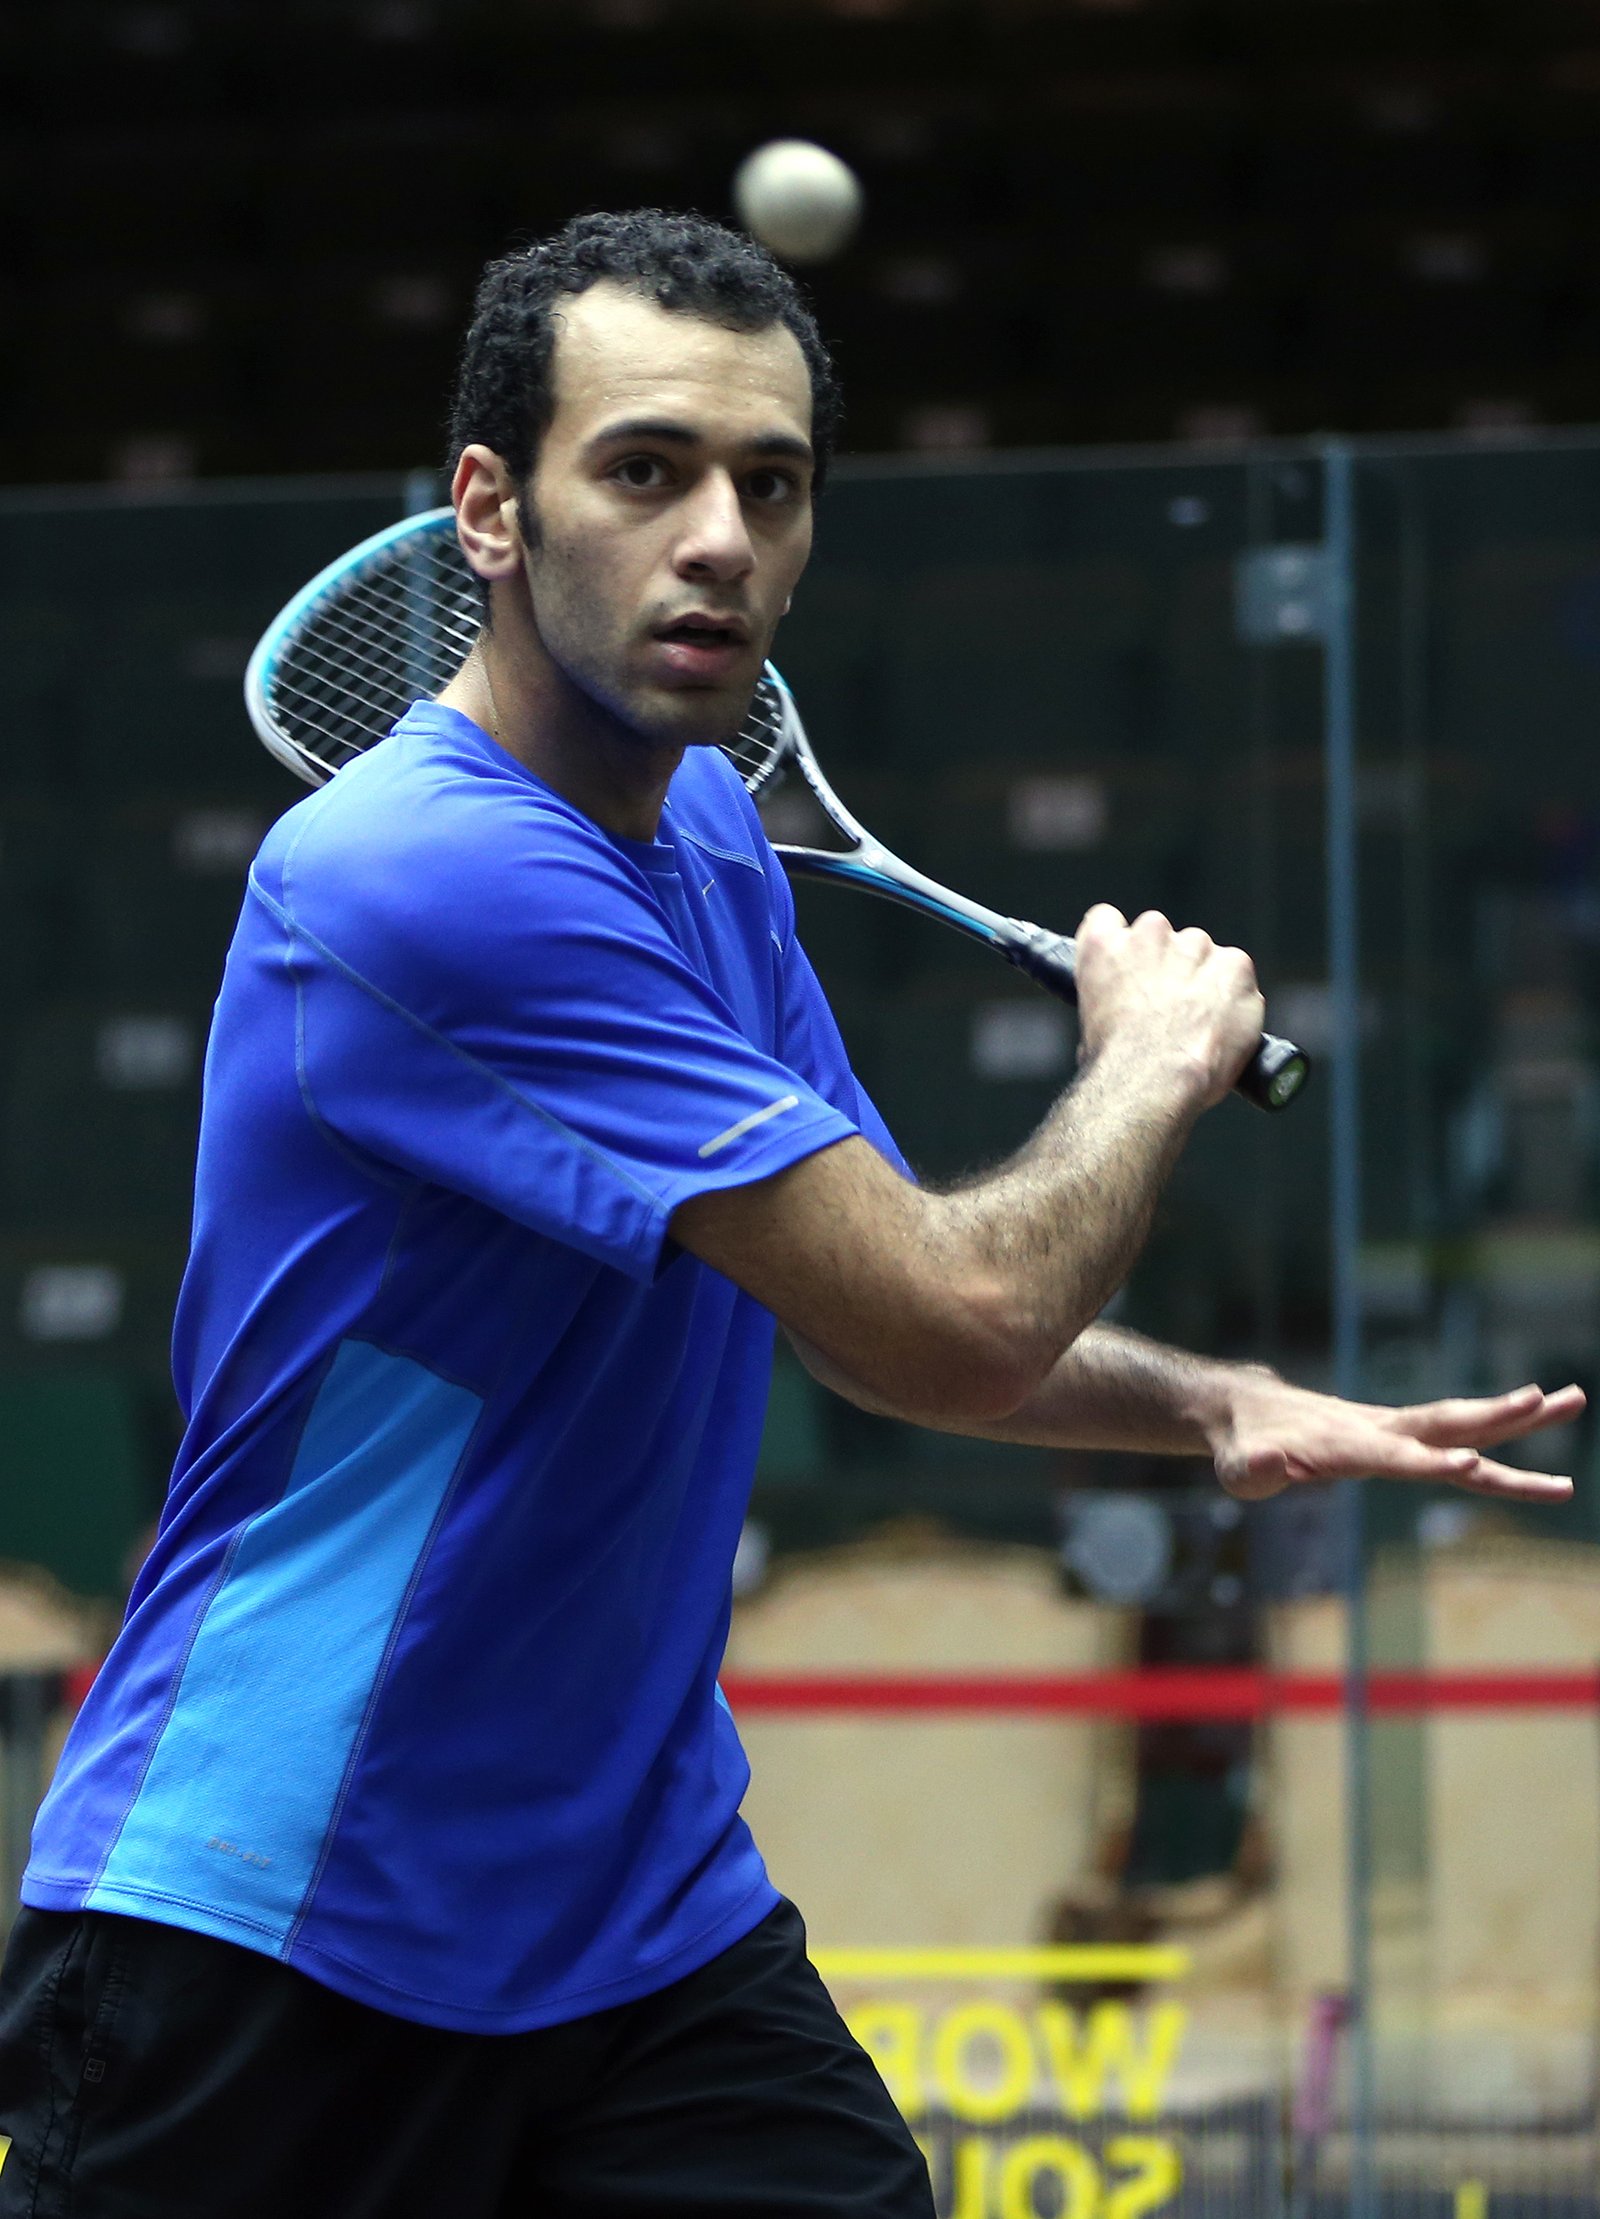
Meet the ball in front of your leading leg, roughly beside your front knee, with your arm comfortably extended rather than fully straight or cramped against your body. On the backhand side, the most common beginner fault is letting the ball drift behind the body; step so the ball arrives in that same window in front of the leading leg, and the backhand drive becomes the mirror image of the forehand rather than a separate, weaker stroke.
When to play it
Almost always. The drive is your default whenever you are at the back or middle of the court and not in a position to attack: it keeps you safe, pushes your opponent deep, and buys you the T. Choose your target on the front wall by the length you want: hit higher on the front wall for a deeper, slower ball that dies at the back wall; lower and firmer for pace. The finishing target is consistent — the ball should bounce first around the back of the service box area and reach the back wall area low enough that it cannot be taken cleanly off the glass.
The beginner error
Hitting the drive loose, into the middle of the court. A drive that drifts a racket-length away from the side wall is the most expensive mistake in beginner squash: it can be volleyed from the T, it can be attacked, and it hands your opponent the middle you were trying to take from them. The usual cause is not aim — it is a contact point that has drifted too close to the body or too far behind it, which pushes the racket face across the ball. The second classic error is hitting too short: a drive that lands around the short line and sits up off the back wall is an invitation, not a defence.
Drill: rails to a target
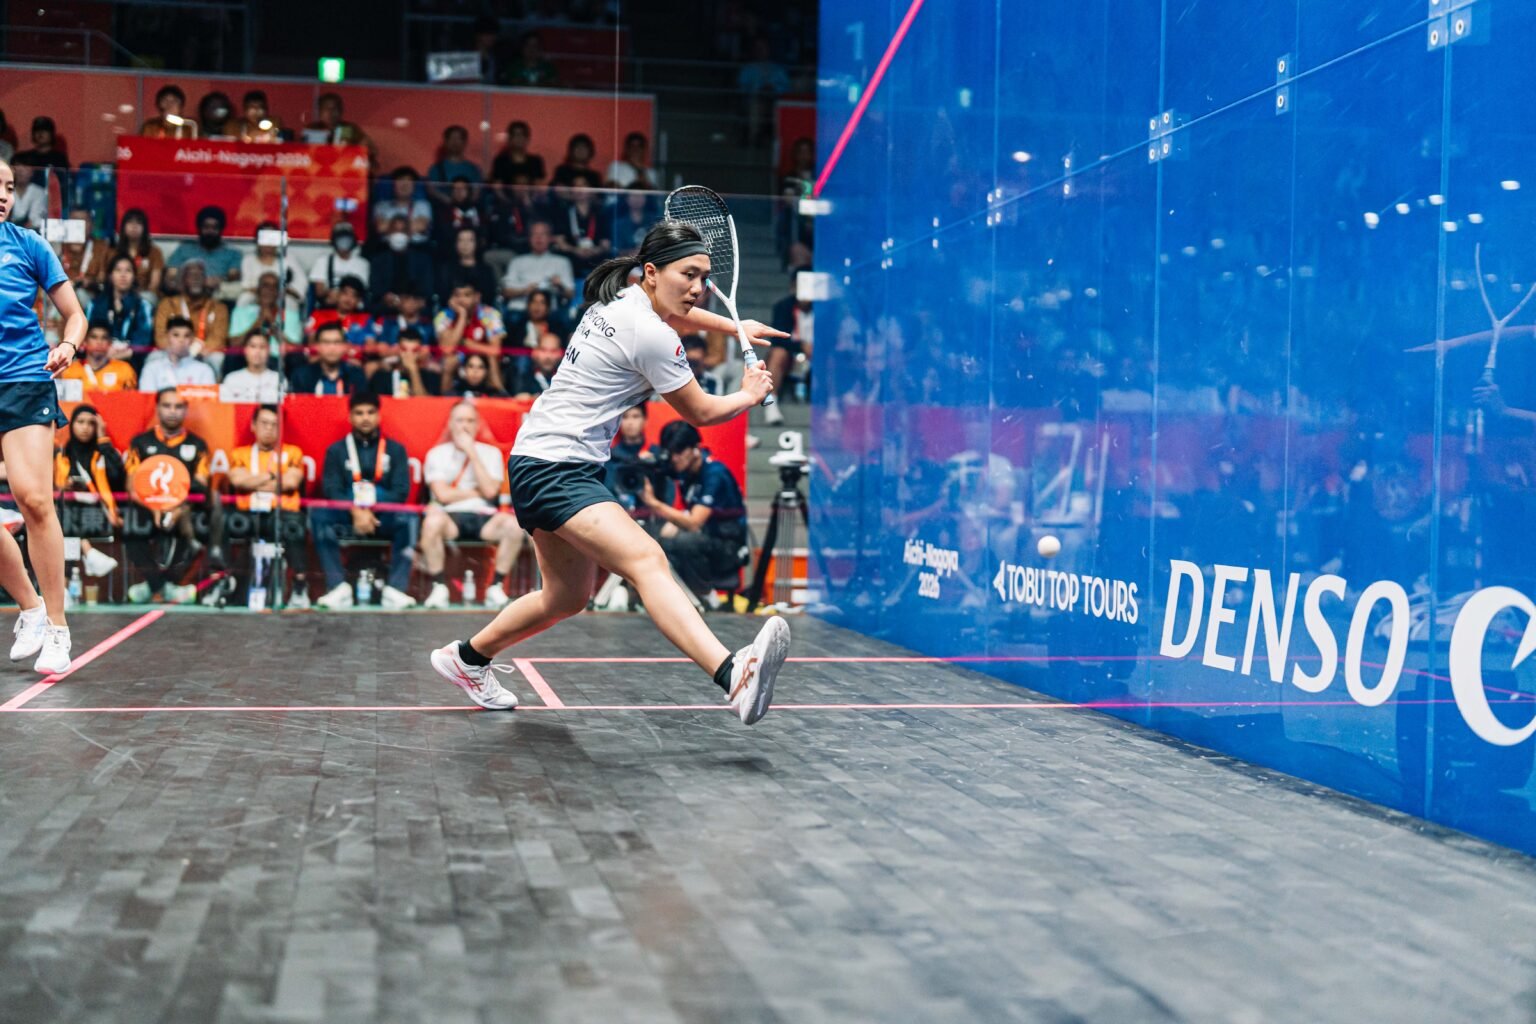
Solo: Stand at the back of the court and hit straight drives to yourself along one wall, moving back to the T area between shots. Count how many consecutive drives stay within a racket’s width of the wall and bounce twice before the back wall — that is a working length. Ten in a row on each side is a strong beginner standard. Partner version: both players drive straight on the same side — one forehand side only — feeding each other’s length. Swap sides after a few minutes. The rally never crosses the middle, so you groove one swing at a time.
The cross-court drive
The cross-court is the drive’s diagonal sibling: instead of travelling down your own wall, the ball crosses the court to the opposite back corner. It exists to solve two problems. First, your opponent is crowding your wall, waiting to volley your rail — the cross-court passes behind or in front of them and reopens the court. Second, you are pinned: a good cross-court that lands tight in the far corner moves your opponent the longest distance squash offers, corner to corner, and returns the T to you.
Grip and swing path
The same grip and the same swing as the straight drive — this is the point beginners miss. You do not need a different, slashing stroke; you rotate your body slightly more open, swing through on the same high-to-low path, and let your body position and racket angle at contact send the ball diagonally. Aiming is done with your stance: set up as if the whole court has turned, feet and shoulders aligned towards the far corner target.
Contact point
Again in front of the leading leg — and this is where cross-courts succeed or fail. Contact made beside or behind the body slices the ball weakly into the middle; contact made out in front, with weight transferring through it, drives the ball fully across. Aim for the front wall around the middle of its width, high enough that the ball carries to the back corner without clipping the side wall on your own side first.
When to play it
When your opponent has crept onto your wall expecting the rail, when you are deep and need to change the angle of the rally, or when the far back corner is visibly empty. The cross-court is a pressure-changer, not an every-rally habit: played too often it crosses the middle where a waiting opponent can volley it, which is the one place a cross-court must never be loose.
The beginner error
Hitting it into the middle of the front wall without width. A cross-court that lands in the centre of the court — neither deep in the corner nor tight to the far side wall — is the easiest ball in squash to volley, struck from the T straight back past you. The fix is commitment: the ball must pass the middle quickly and finish within a racket’s width of the far side wall at the back. Half-hearted cross-courts are worse than none.
Drill: drive or cross-court
Partner drill: The feeder stands at the back and plays every ball straight. The worker, at the other back corner, alternates: one straight drive, one cross-court, one straight, one cross-court — always returning to the middle between shots. The predictable pattern lets you groove the footwork and the body turn without decision-making. Once the shape holds, the feeder mixes randomly, and now the same two swings become a genuine choice.
The boast: the side wall does the work
The boast is the shot that makes squash three-dimensional: the ball is hit into the side wall first, rebounds onto the front wall, and comes off at an angle. From the back corners, the boast is your escape hatch — played well, it drags your opponent from the T to the front corner while you recover. Played from the front, the same wall-first geometry becomes an attacking shot that wrong-foots a deep opponent. This guide covers the back-court boast, the one every beginner needs first.
Grip and swing path
Same grip, and — this surprises people — the same swing as the drive. What changes is the direction you swing through the ball and the angle of the racket face at contact: instead of driving along the wall, you swing across your body slightly so the face points the ball into the side wall. From the back corner, aim the ball at the side wall roughly midway between yourself and the front, or slightly ahead of where you stand, and let the angles do the rest: side wall, front wall, then across the front of the court. Hit through the ball with a full, confident swing — the boast dies quickly if you push at it.
Contact point
Beside your body or fractionally behind the ideal drive contact if the ball has run deep into the corner — the boast is often played when the ball is tight to the back wall and the drive’s front-of-the-knee contact is no longer available. Keep your body far enough from the side wall to swing freely, and open your stance a little towards the front of the court so the swing can cross towards the side-wall target.
When to play it
When you are under pressure deep in a back corner, the ball is tight or awkward, and a straight drive would be weak or would clip the wall — boast instead, and use the recovery time the angle creates. Also when your opponent is camped deep expecting length: a well-disguised boast from the same preparation suddenly brings the ball forwards. The boast is a pressure-release valve; play it because the situation asks for it, not as your default.
The beginner error
Aiming at the wrong spot on the side wall — usually too close to the front wall. Hit the side wall too far forward and the ball flies straight across the middle of the court, low and loose: a volley invitation. Hit it too close to yourself and it rebounds into the tin or dies in the front corner on your own side. The working window is the middle stretch of the side wall, and hitting it reliably is a matter of twenty practice balls, not talent. The second error is telegraphing: standing square, staring at the side wall. Same preparation as the drive, always.
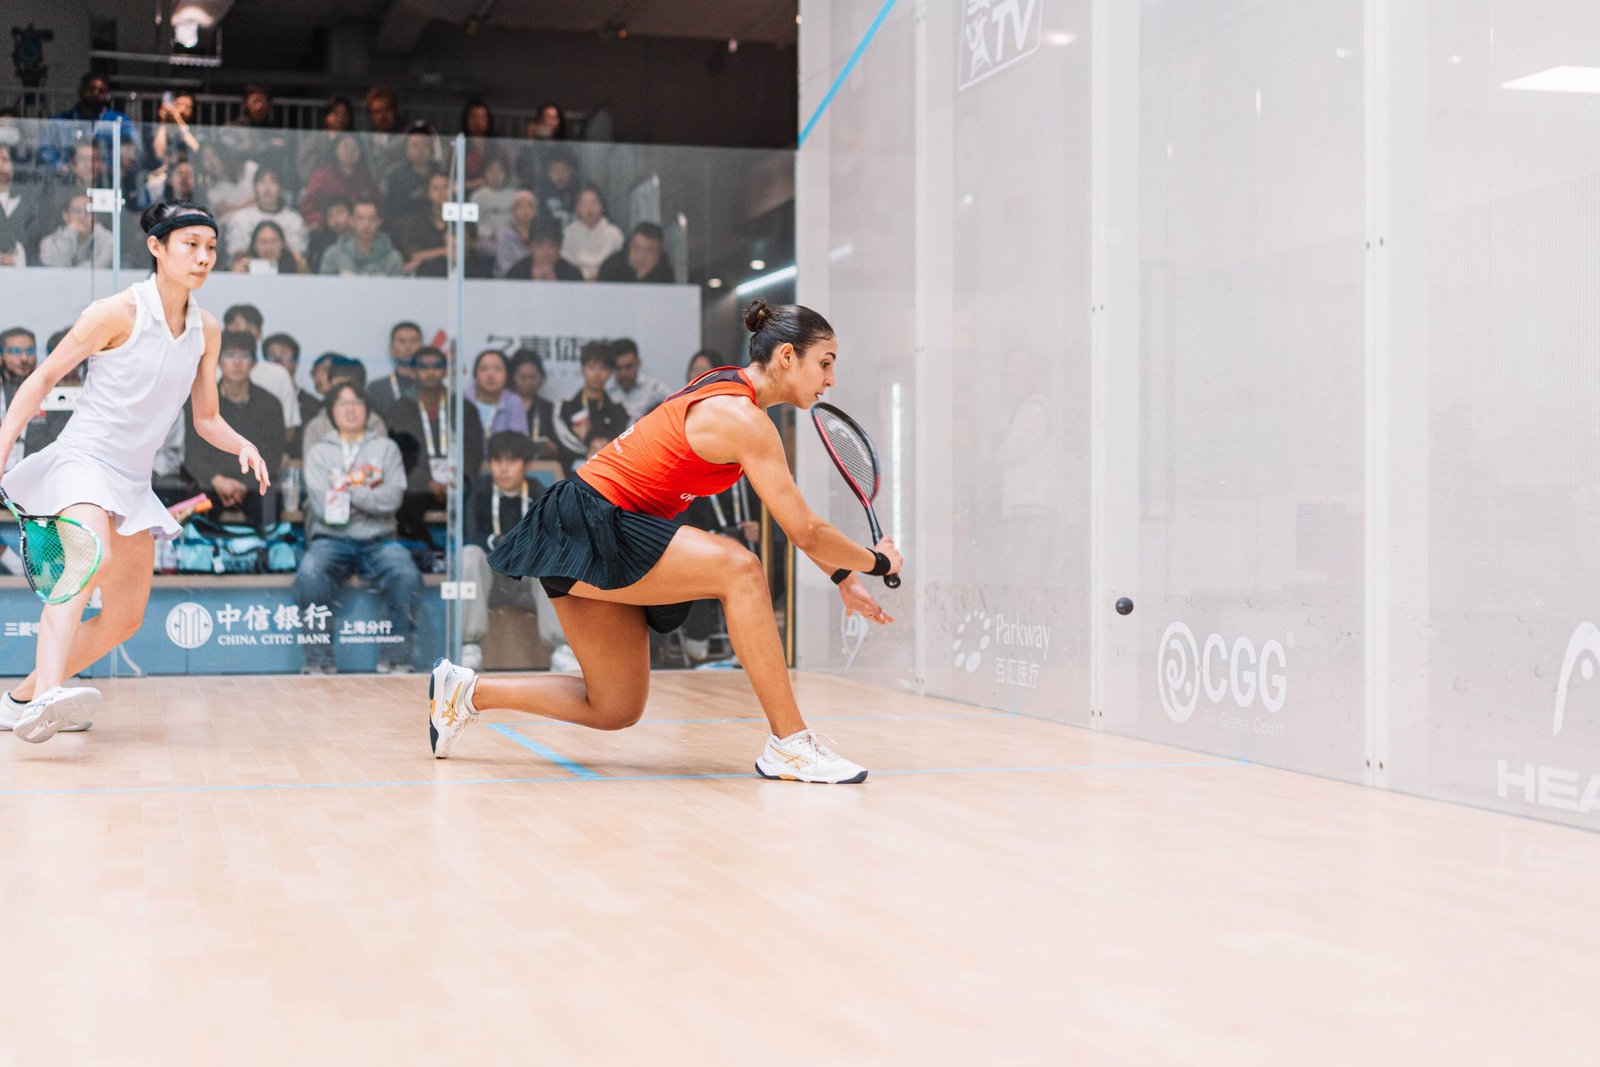
Drill: boast and move
Solo: From one back corner, feed the ball to yourself off the back wall and boast it, then move to the T, then return and repeat — boast, T, boast, T. The movement is part of the shot: a boast without recovery is half a shot. Ten per corner. Partner version: your partner stands at the front and catches or gently returns every boast to the same corner, so the rally becomes boast, feed, boast — pure repetition of the one geometry you are learning.
The drop shot: soft hands at the front
The drop is squash’s whisper: played from the front or middle of the court, the ball floats just over the tin and dies within a stride or two of the front wall. It is the shot beginners fall in love with first and the one that betrays them longest, because a drop only works as a contrast — your opponent must believe a drive is coming, be braced deep for it, and then have to sprint the length of the court for a ball that lands inches from the wall. Drops played from the back, or from a standing start with your opponent already at the front, are not finesse; they are donations.
Grip and swing path
Same grip — but now the hand becomes the instrument. The swing is a shortened, gentler version of the drive swing: same shape, far less arm, a soft and relaxed hand, and the racket face opened slightly (tilted back) so the ball lifts just enough to clear the tin and then falls. Think of guiding the ball rather than striking it. Your body sells the disguise: until the last moment, your preparation should look exactly like the preparation for a drive to the back.
Contact point
Out in front of your body, at the end of a balanced lunge, with the racket head in front of your hand. Contact taken late, beside or behind your front foot, pushes the ball up loosely into mid-court; contact in front lets you angle it tight to the side wall as well as short. Aim the ball to land on the front wall just above the tin — close enough to the tin that it drops steeply, not so close that your margin for error disappears. The very best drops also touch the side wall near the front, which kills the bounce entirely in the nick, the join of wall and floor.
When to play it
When three things line up: you are in front of your opponent, they are deep or off-balance at the back, and you have arrived balanced enough to be delicate. A drop is a finish or a change of rhythm, never a rescue: if you are stretched and scrambling at the front yourself, the percentage play is the lob or the drive, and living to contest the next shot.
The beginner error
Trying to win the rally with the drop, from too far back, with a flick of the wrist. The wristy flick from mid-court produces a ball that either clips the tin or sits up begging to be counter-dropped. Walk towards the ball, lunge, get the racket in front, and use the same swing shape as your drive, simply shortened and softened. The second error is stopping to admire it: after the drop you must hold your position near the front, ready for the counter — a drop you watch is a rally you lose at the front instead of winning.
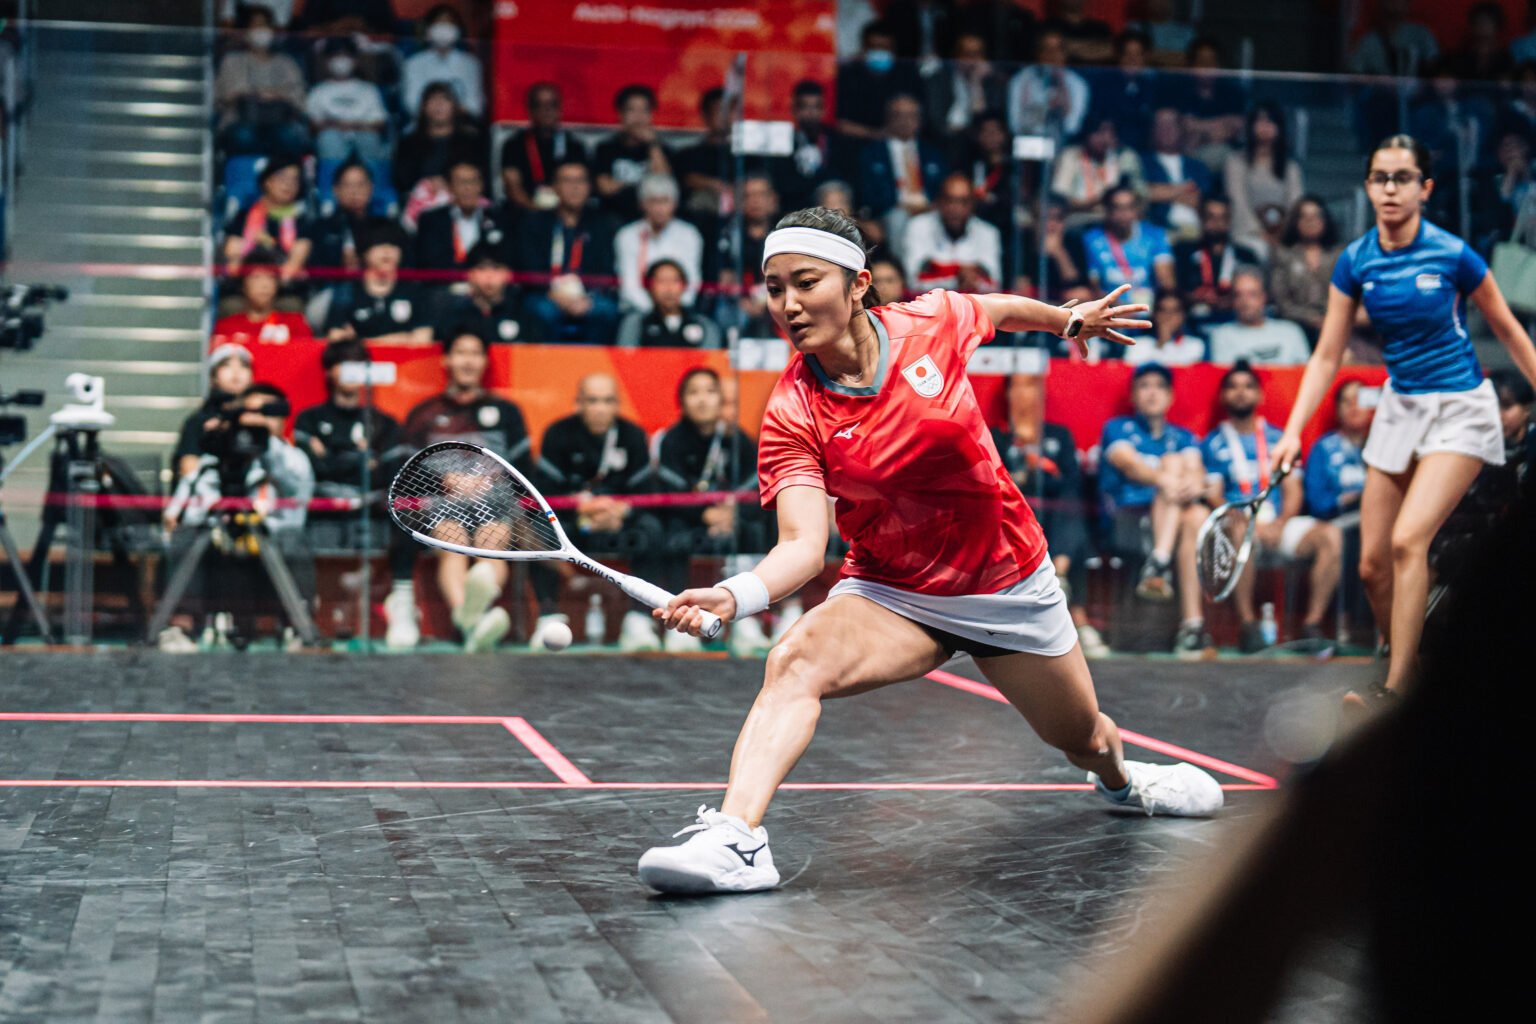
Drill: drop and recover
Solo: Stand two strides from the front wall, bounce-feed the ball to yourself off the front wall and play drop after drop from the lunge, recovering one step back between each. Count consecutive drops that land on the front wall within a hand’s width above the tin and bounce twice inside the service box area. Partner version: your partner feeds loose balls from the T to alternate front corners; you lunge, drop, recover. Alternate corners so the footwork — not just the hands — gets trained.
The lob: the great reset
The lob is the least glamorous shot in this guide and the one that will save you the most rallies. Played high and slow to the back of the court, it turns a desperate scramble into a neutral rally: while the ball floats, you recover to the T and breathe; when it lands, it is your opponent who must dig a falling ball out of the back corner, close to the wall, at an awkward height. Beginners underrate the lob because it feels passive. Watch experienced players: under real pressure, it is the first shot they reach for.
Grip and swing path
Same grip, with the racket face opened more than for any other shot — tilted back so that your swing sends the ball steeply upwards. The swing itself is a full, relaxed, unhurried version of the drive swing, finishing high. Aim deliberately high on the front wall, close to the top out line but safely under it, so the ball climbs, peaks above your opponent’s easy volleying height mid-court, and drops into the back corner. A lob is played with a whole swing at half power, not a jab: jabbed lobs come down short, and short lobs are volley practice for your opponent.
Contact point
In front of the body as usual — and, uniquely among these shots, the lob tolerates being played when you are stretched in a front corner, because the open face and upward swing work even from a low, reaching position under the ball. Get under it, face open, swing up. From the back corners it is played the same way, lifting a tight ball up and over an opponent who is crowding you.
When to play it
When you are in trouble: stretched at the front by a good drop, pinned in a back corner by a tight drive, or simply exhausted mid-rally and in need of two seconds. Also as a deliberate change of pace against opponents who hate the ball dropping steeply behind them — some players can drive all day but never settle under a good lob.
The beginner error
Hitting it too low and too flat — a “lob” that travels at volley height through the middle of the court. That is not a reset; it is the easiest interception in the game. The lob must be genuinely high: high on the front wall, high in its flight, and dropping steeply at the back. If your opponent can volley it from the T, it was not a lob, whatever you intended. The second error is lobbing from comfort: with time and balance at mid-court, the drive or the drop usually asks harder questions. Save the lob for when you need it, and it will be there when you do.
Drill: lob to the back corner
Partner drill: Your partner drops from the front; you lunge in and answer with a lob that must land in the back corner behind the service box, then recover to the T while they play a straight drive back to the front — and the loop repeats. Five loops, then swap roles. The drill strings your two most defensive shots together and trains the exact recovery the lob is designed to buy you.
The volley: taking time away
A volley is any shot played before the ball bounces — and as a beginner skill it is less a new swing than a new decision: to step in and take balls early, around the T and the short line, instead of retreating and letting them bounce. Every volley you take is time stolen from your opponent, who is still completing their recovery while your return is already on its way. Volleys are how players hold the T, and holding the T is how rallies get dictated.
Grip and swing path
Same grip, and the swing shrinks again: a short backswing, a firm wrist, and a punching action through the ball. There is no time for the drive’s full arc at the front of a fast exchange, and no need — the ball arrives with pace of its own. Prepare the racket up and in front of you as you move in, keep the face angle set early, and punch through the contact with your body weight behind it. The volley drop and the volley drive are the same compact action aimed at different targets: low on the front wall to finish, higher to send the ball deep.
Contact point
In front of your body, at or above the height of the top of the tin where possible, and as early as you can reach it. Early is the entire point. A volley taken in front of the short line, with your opponent still behind you, ends rallies; the same swing taken a stride later, level with your body, is just a rushed shot. Move your feet to the ball rather than reaching from a standing start — volleys are played with the legs first.
When to play it
When a loose drive or cross-court floats through the middle at a hittable height; when your opponent’s shot comes off the back wall weakly and pops up; when you have earned the T and want to keep the pressure on. Start with the balls that arrive slowly and sit up — as your preparation improves, the range of balls you can volley grows by itself.
The beginner error
Swinging at the volley like a drive — a big backswing and a full follow-through. The result is usually the tin, the side wall, or a ball sprayed loose, because the full swing cannot be organised in the time available. Shrink the swing and firm the wrist, and accept a simple rule: a controlled volley placed anywhere sensible beats a spectacular volley attempted from a wind-up. The companion error is planting your feet and reaching: if you have to lean for it, it was not your volley — let it bounce and drive it instead.
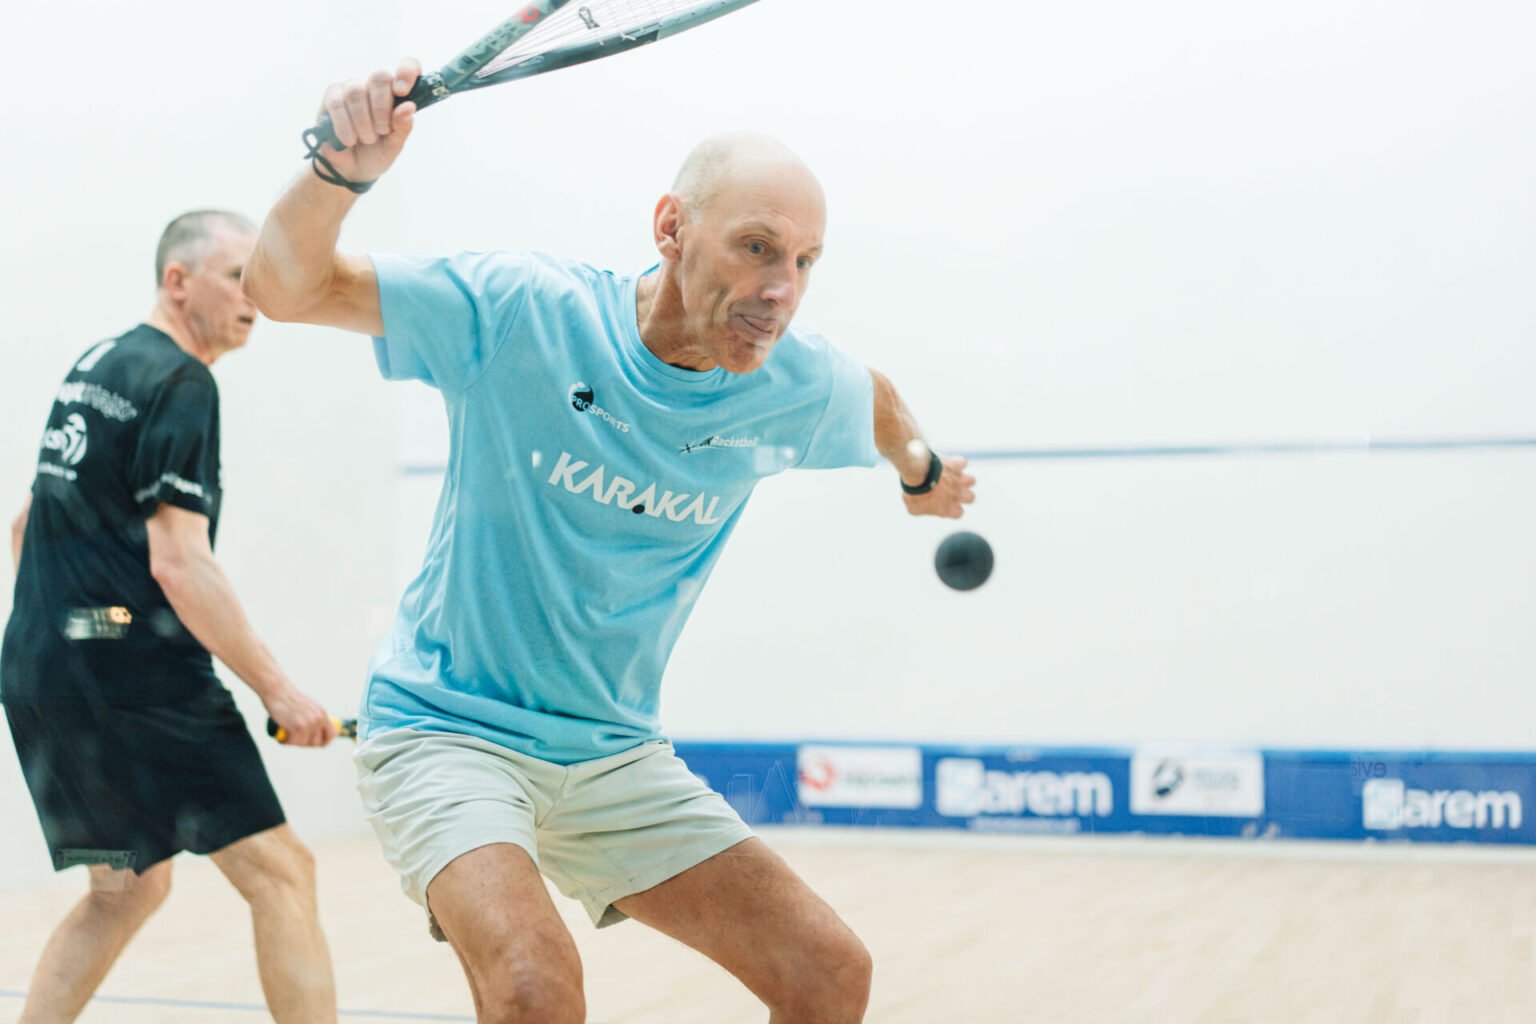
Drill: volley feeds at the T
Partner drill: Your partner stands at the back and feeds gentle drives down the middle; you stand on the T and volley every ball straight back to them, working in sets — ten forehand volleys, then ten backhand. Keep the swing short and catch yourself if it grows: the backswing should barely pass your shoulder. Solo version: hit a soft drive to the front wall, step in as it rebounds, and volley it back to the wall before it bounces — drive, volley, drive, volley, continuous. Ten continuous cycles is a real workout and a real skill.
The serve: technique, not power
A note on scope before technique: this section teaches how to strike a good serve — the swing, the target and the contact. The legality around it (which box, where your foot must be, where the ball must land, and the fact that squash gives you only one serve) lives in our how to play squash guide and is not repeated here. What matters for this page is a simpler truth: because there is no second serve, the squash serve is a controlled, high-percentage shot — closer in spirit to the lob in this guide than to a tennis serve.
Grip and swing path
Same handshake grip. The most reliable beginner serve is a lob serve: an underarm, open-faced swing — essentially the lob swing played from the service box — that sends the ball high onto the front wall so it drops into the back quarter close to the side wall. Release the ball from your non-racket hand at about waist height, swing up and through it smoothly, and finish with the racket high. There is no trophy for pace: a fast, flat serve that rebounds off the back wall into mid-court is the worst serve in the game, however satisfying it feels to hit.
Contact point
In front of your body at around waist-to-chest height, with the racket face open, striking the ball on the fall or just as it reaches the top of a gentle toss — whichever release you find more consistent. Consistency is the whole game here: the same release, the same swing, the same high target on the front wall, serve after serve.
When to play which serve
Default to the lob serve: high on the front wall, landing deep in the quarter, tight to the side wall, forcing your opponent to either volley awkwardly high or dig it out of the corner. Vary it only once it is grooved: a slightly lower, firmer serve at the receiver’s body, or one angled to catch the side wall on its way down. Variety is a garnish; the deep, tight, high serve is the meal.
The beginner error
Trying to hit an ace. Beginners serve their hardest ball, it comes off the back wall at perfect hitting height, and the rally starts with them on the defensive. Every coaching manual’s advice is the same: slow down, aim high, make the serve land where returning it is genuinely awkward — deep, tight, and dropping. A serve your opponent must take out of the back corner is worth more than any amount of speed.
Drill: serve ladder
Solo: Serve ten balls from each box. Score the set: one point for every serve that lands in the correct back quarter, two if it touches the side wall on its way down or arrives too tight to volley comfortably. Serve in match rhythm — bounce, set, swing — rather than rapid-fire, because the serve you are training is the one you will hit at 9-all, not the one you hit in a queue.
Putting it together: your first practice plan
Seven shots, five checkpoints each — that is a library, not a homework assignment. Build it in an order that respects how squash actually works: length first, because rallies are made of drives; then the escapes and resets, because beginners spend half their rallies in trouble; then the front-court shots, which only function once your length has pushed your opponent back; the volley grows on its own once the others exist.
| Stage | Shots to build | What “ready” looks like |
|---|---|---|
| 1 — Length | Straight drive (both sides) | Ten consecutive rails tight to the wall and reaching the back in the solo drill |
| 2 — Angles | Cross-court drive, boast | You can change direction from the back corners without the ball drifting loose into the middle |
| 3 — Safety | Lob | Stretched at the front or pinned at the back, you can reset the rally high and deep and regain the T |
| 4 — Touch | Drop shot | From a balanced lunge at the front, your drops die within two strides of the front wall |
| 5 — Pressure | Volley, serve refinement | You take loose mid-court balls on the volley from the T and your serve lands deep and tight by default |
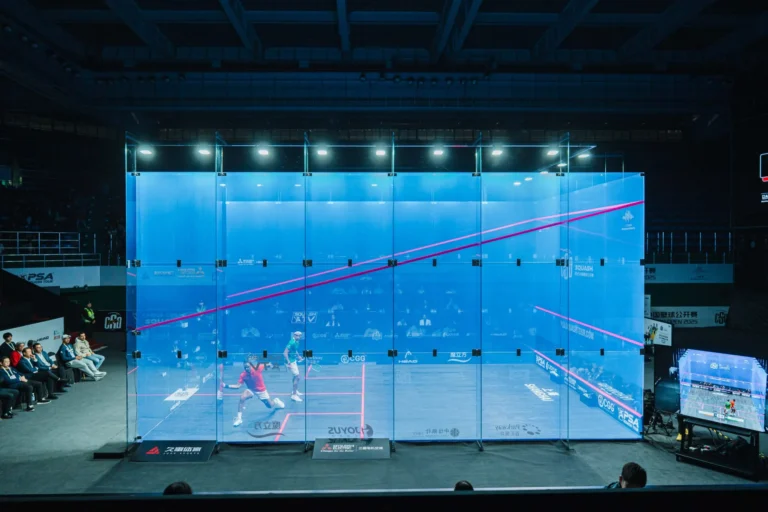
A practical week-one template, twice in the week: ten minutes of rails (stage 1 drill), five minutes each of boast-and-move and the drop-and-lob loop, then finish with conditioned games — short matches where one player scores double for winning a rally with a volley, or where every rally must start with a lob serve. Conditioned games matter because drills groove swings but only games teach when, and “when” is half of every checkpoint list in this guide. Finish each session by watching the real thing played properly: squash makes its Olympic debut at the LA 2028 Games, and our guide to squash at the LA 2028 Olympics covers who will be there and how the tournament works — the perfect place to see all seven of these shots played at full speed and start recognising them.
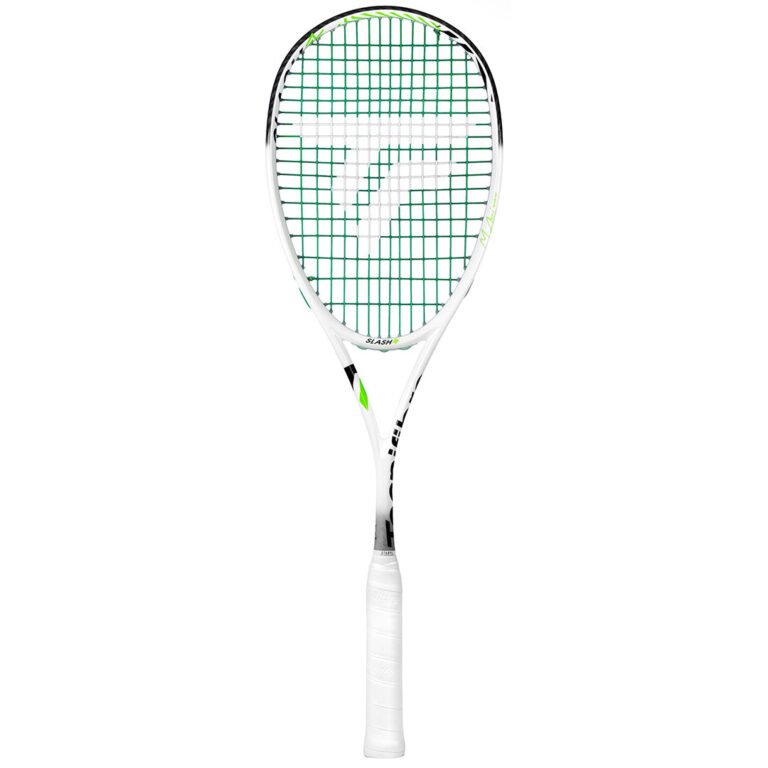
One last piece of housekeeping before the FAQs: none of this technique survives the wrong equipment for long. A racket that is too heavy or too head-heavy will fight your swing path on every drive, so if you are still borrowing club rackets, our guide to the best squash rackets for beginners walks through the weights and balances that suit a first season.
The beginner’s shot-building checklist
Take this onto the court with you:
- One grip: the handshake grip, V along the top bevel, for every shot — forehand, backhand, drop, lob, volley, serve.
- Prepare early: racket up and back before the ball arrives; watch the ball onto the strings, not the front wall.
- Contact in front: in front of the leading leg on drives; at the end of a balanced lunge on drops; early and high on volleys.
- Length is home: when in doubt, hit a tight straight drive or a high lob and take the T back.
- The error to kill first: looseness into the middle — a ball a racket’s width off the wall is a ball your opponent can attack.
- Recover: every shot ends with the same sentence — back to the T, racket up, watching their swing.
Squash shots for beginners — FAQs
What is the most important squash shot for a beginner to learn?
The straight drive. It is the shot rallies are built from: played tight to the side wall and deep to the back corner, it cannot be volleyed or attacked, and it forces your opponent to hit from the hardest position on court. Most of your shots in any match will be drives, and every other shot in a beginner’s library — cross-court, boast, even the drop — uses the same basic swing, so grooving the drive upgrades everything else at once.
Do I use a different grip for the backhand in squash?
No. One grip — the handshake grip, with the V of thumb and index finger along the top bevel of the handle — plays every shot on both sides. What changes for the backhand is your body organisation: turn side-on, prepare the racket up and back early, and meet the ball in front of your leading leg, exactly as on the forehand. If you feel the urge to regrip as the ball crosses over, that habit, not your backhand, is what needs practice.
What is a boast in squash, and when should I play one?
A boast is a shot played into the side wall first, so the ball rebounds onto the front wall at an angle. From the back corners it is your escape shot: when a ball is too tight or awkward for a good straight drive, boast it into the middle stretch of the side wall, let the angle carry it across the front, and use the time to recover to the T. Play it because the situation demands it — as an occasional pressure release and angle-changer, not as a default shot.
Why do my drop shots keep hitting the tin?
Usually because the contact point and the swing are wrong, not the aim. Drops hit from beside or behind the body, with a flicky wrist and a closed racket face, have no margin: the ball starts too low and finishes lower. Fix the shape first — lunge so the ball is out in front of you, open the racket face slightly, and use a shortened, softened version of your drive swing, guiding the ball to land just above the tin. Drops played from too far back have the same problem for a different reason: from mid-court, choose the drive or the lob instead.
When should I volley instead of letting the ball bounce?
When the ball arrives through the middle of the court at a comfortable height and you can take it in front of your body, around the T or the short line, with a short punching swing. Volleys steal your opponent’s recovery time and hold your position. If you have to reach, lean or wind up a full swing to volley, it was not your ball — let it bounce and drive it. A controlled volley placed anywhere sensible beats a spectacular one attempted from a wind-up.
What is the best serve for a beginner?
A lob serve: an underarm, open-faced swing that sends the ball high onto the front wall so it drops deep into the back quarter, tight to the side wall. Squash gives you only one serve, so consistency beats power — a slow, high, accurate serve forces your opponent to dig the ball out of the corner or attempt an awkward high volley, while a fast flat serve usually rebounds off the back wall at perfect hitting height for them. The serving rules themselves are covered in our how to play squash guide.
How do I practise squash shots on my own?
Solo hitting is a core part of squash practice at every level. The three routines in this guide cover most of it: straight drives to yourself along one wall (count consecutive tight, full-length rails), boast-and-move from each back corner with a recovery to the T between shots, and the continuous drive-volley cycle against the front wall. Ten focused minutes of one pattern teaches more than an hour of unstructured hitting — pick one shot, one checkpoint from its section, and one count to beat.
About this guide: The technique descriptions here follow standard federation coaching practice for the grip, preparation, swing paths and contact points taught to new players; individual coaches vary details, and a session with a qualified coach at your club will always tune the basics to your game faster than any guide can. For the rules of the game itself — the serve sequence, scoring, and lets and strokes — see our how to play squash guide. This page links only to guides on Alishuttler.com — any affiliate relationships are disclosed on the pages concerned.