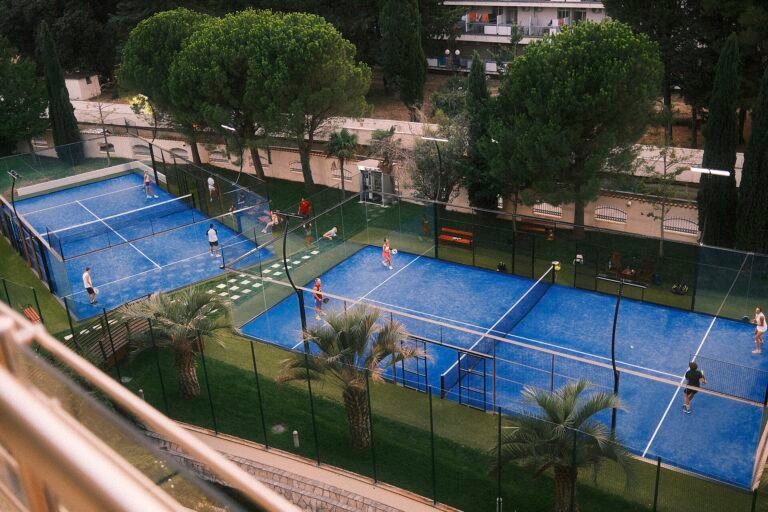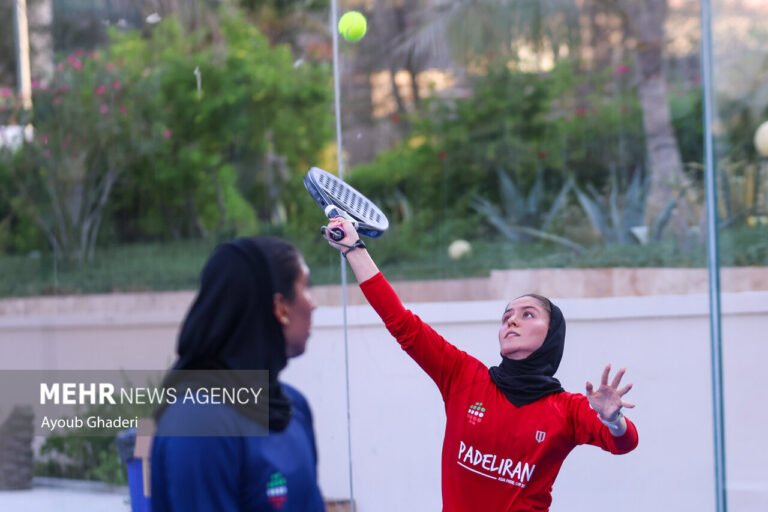

You already know how a game works — this is the other half: what to bring, the one grip that covers everything, how to let the glass do your defending, where to stand with your partner, and the mistakes every first-month player makes once so you don’t have to.
Somebody has invited you to padel. You have watched a few clips, you roughly get the glass-cage thing, and now there is a booking with your name on it and a quiet worry underneath: what do I actually do out there? That worry is reasonable, and it is exactly what this page is for. Not the rulebook — the practical stuff nobody puts in the rulebook: what to wear, how to hold the racket, where to stand, when to let the ball hit the wall behind you on purpose, and how a social game with rotations actually runs.
One piece of housekeeping first, so this page can stay in its lane. If you need the game itself — how the serve works, how scoring runs, what a let is — read our guide on how to play padel before your session; it teaches a first game step by step. And if your playing partners start debating the newest scoring systems and serve interpretations, our padel rules deep dive owns that argument. This page assumes the basics are handled and answers the different question: how do you play your first few games well enough to be invited back — and enjoy them?
The honest headline is encouraging. Padel is unusually kind to beginners: the court is small, the serve is underarm, the walls rescue shots that would end a tennis rally, and the doubles format means a partner covers half of everything. But “kind” is not the same as “automatic”. First-time players lose most of their points the same handful of ways — standing in the wrong place, swatting at balls that were about to become easy, gripping the racket like a frying pan one shot and a hammer the next. Every one of those is fixable before you ever step on court, and most are fixed in this one read.
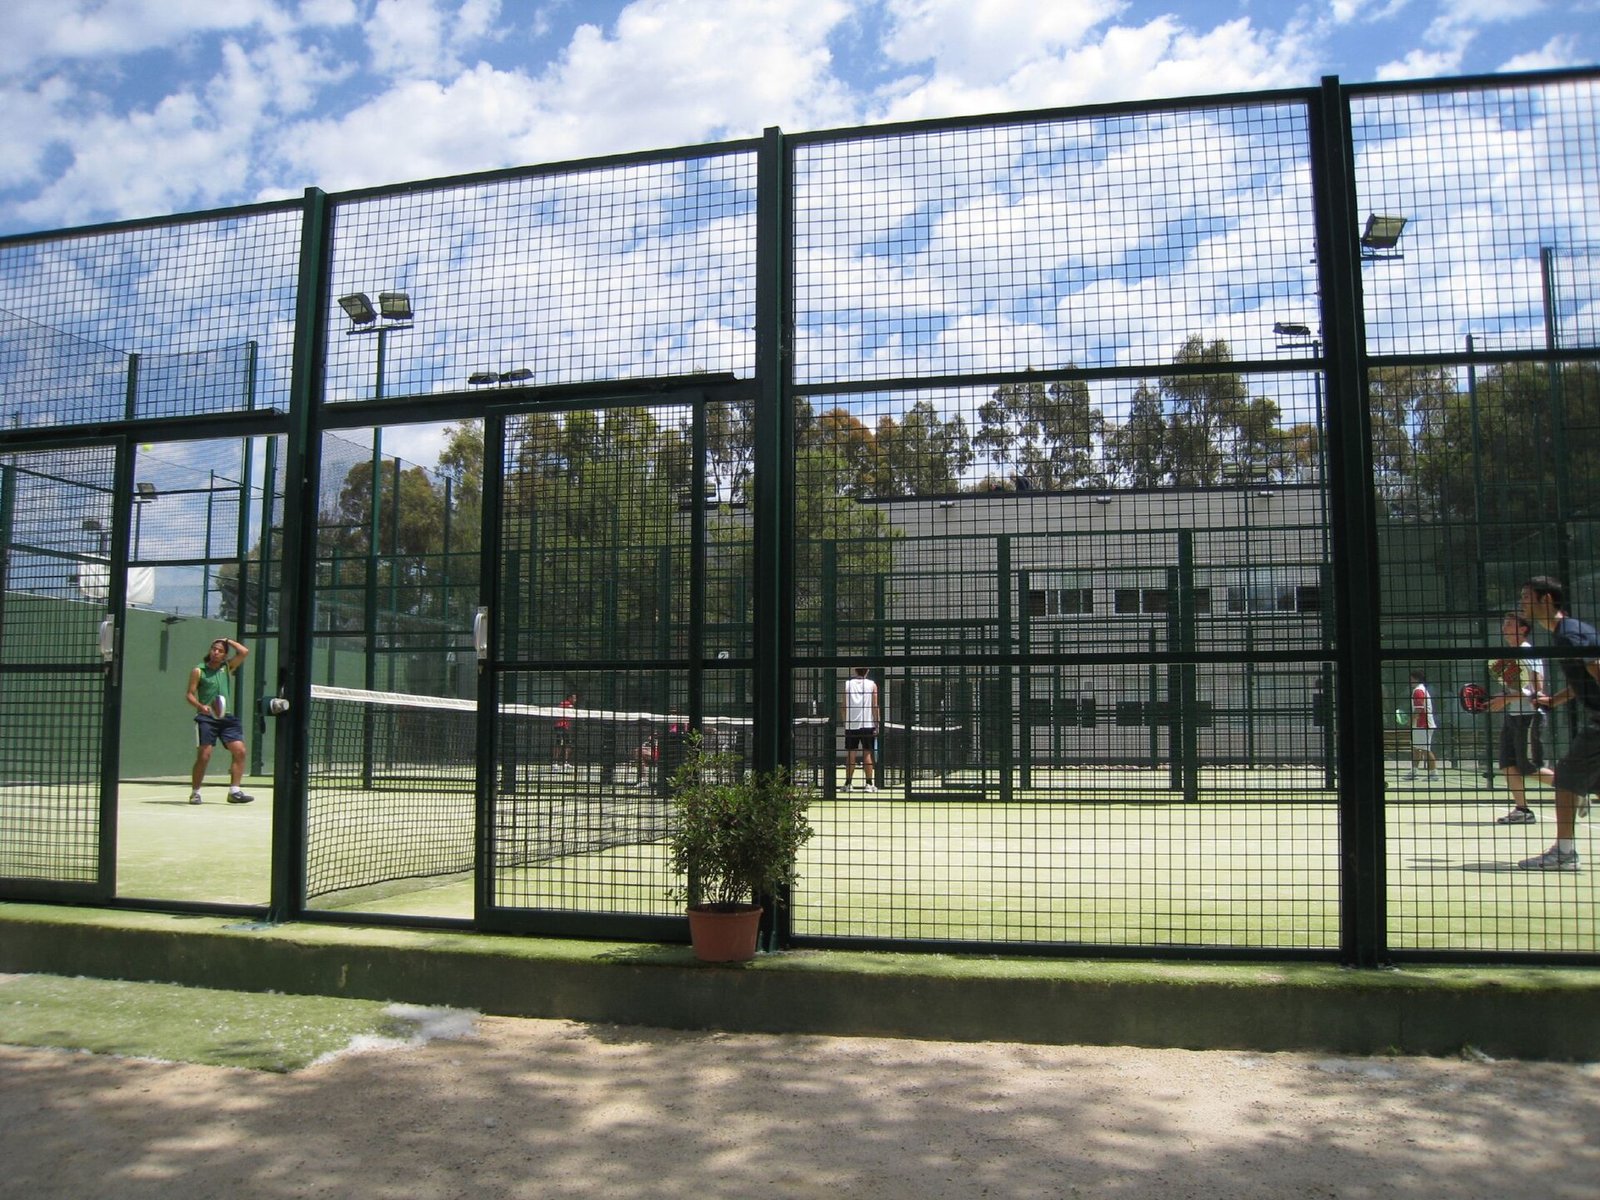
Your first game, on one card
Bring court shoes, a racket (rented is fine) and water — that is genuinely enough for game one. Hold the racket in one grip for everything, the continental “handshake” grip, and wait for each ball in a ready position: knees soft, racket up in front of your chest, weight on the balls of your feet. When a ball is hit deep at you, do not panic-swing — let it bounce, let it come off the glass behind you, and play it calmly as it comes back. Move with your partner: up to the net together after your pair serves, back together when you are lobbed, and talk on every ball in the middle. Aim your shots deep and through the middle rather than at corners, treat the lob as your best friend whenever you are in trouble, and on overheads play the controlled bandeja, not the hero smash. Do that for one session and you will look — and feel — like a padel player.
One grip, every shot
The continental grip — shake hands with the handle — covers your forehand, backhand, volleys and overheads. Learn one grip well instead of three badly.
Your third defender
A deep ball is not a lost ball. Let it bounce, let it rebound off the glass, and play it coming back towards you. Turning your back on it is the skill — and it is learnable in one session.
Where points are won
The pair at the net wins most rallies. Get there together after you serve, hold your ground, and block volleys back deep instead of swatting at them.
“Mine”, “yours”, “leave”
Three words run a doubles pair. Call early on every ball between you and the points you used to lose to silence and collisions disappear.
In this guide
- Before you step on court: what to wear and bring
- The one grip, and the ready position
- Let the glass play for you
- You and your partner: one unit, two jobs
- Your first three shots: serve, return and the lob
- The 10 mistakes every beginner makes
- Etiquette and rotation: how club games actually run
- Your first month: a simple progression
- FAQs
Before you step on court: what to wear and bring
Padel’s entry cost for a first game is close to zero, and it is worth keeping it that way. Clubs rent rackets by the session and sell balls at the desk, so treat your first games as a trial, not a shopping trip. What you wear and carry matters more than what you own — here is the whole list, in the order it will affect your evening.
Shoes first — this one is not optional
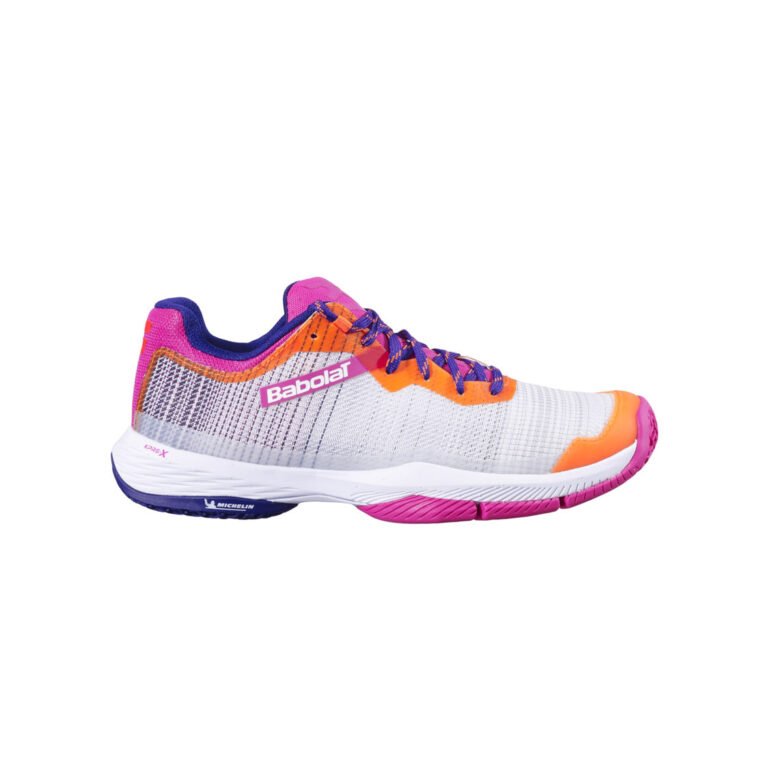
The single item that changes a first session is on your feet. A padel court is sand-dressed artificial turf: grippy when your shoe bites, slick when it doesn’t, and the game is played in short lateral shuffles, lunges and turns rather than straight-line running. Court shoes — tennis, padel or all-court shoes with a grippy, non-marking sole and a stable, low heel — are built for exactly that. Running shoes are built for the opposite: a high, soft, narrow heel that rolls precisely when you plant and turn sideways, which is how first sessions end in turned ankles. If you own clay-court or all-court tennis shoes, they are ideal; if you are buying later anyway, padel-specific shoes add a reinforced toe and medial side for the drag steps this sport produces. For game one: flat, grippy, non-marking, and laced firmly. That is enough.
Clothing: lunge-proof and pocket-aware
Wear ordinary sportswear you can lunge, reach overhead and turn in — shorts or leggings, a breathable top, nothing with zips or trim that will catch a swing. Two beginner details make a real difference. First, a pocket that holds a ball: you will serve with a second ball in hand or pocket all evening, and a pocketless outfit means bending for balls between every point. Second, if you play outdoors in the sun — and in hot climates, at any hour — a cap or visor for the lobs you will be staring up into, plus sunscreen applied before, not during, because sweaty sunscreen on a grip is a racket-launching hazard.
The racket: borrow, rent, then think
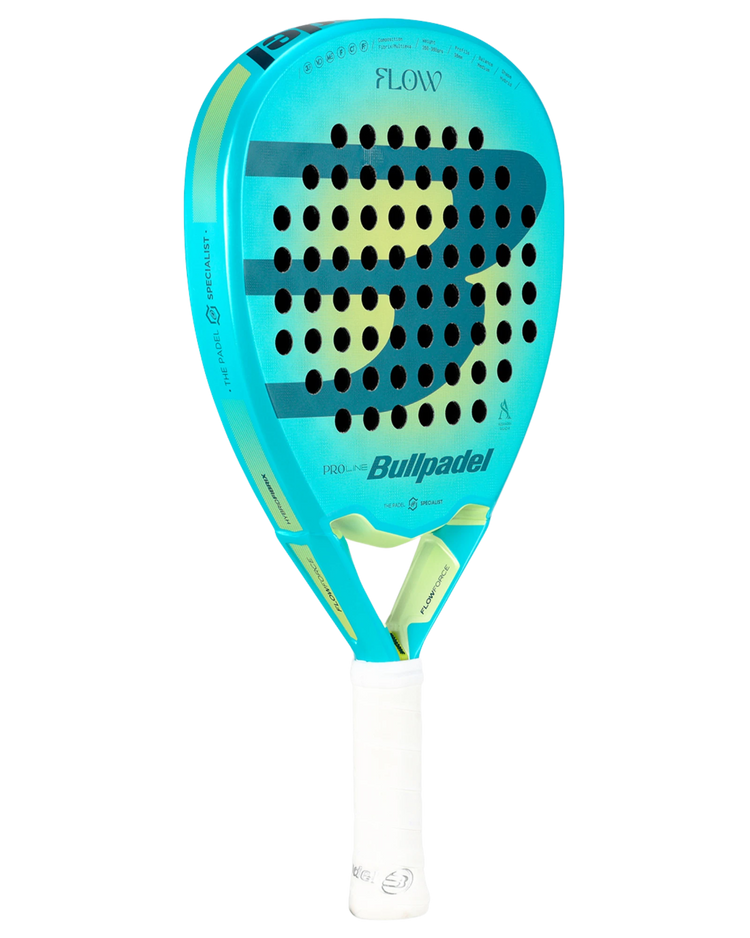
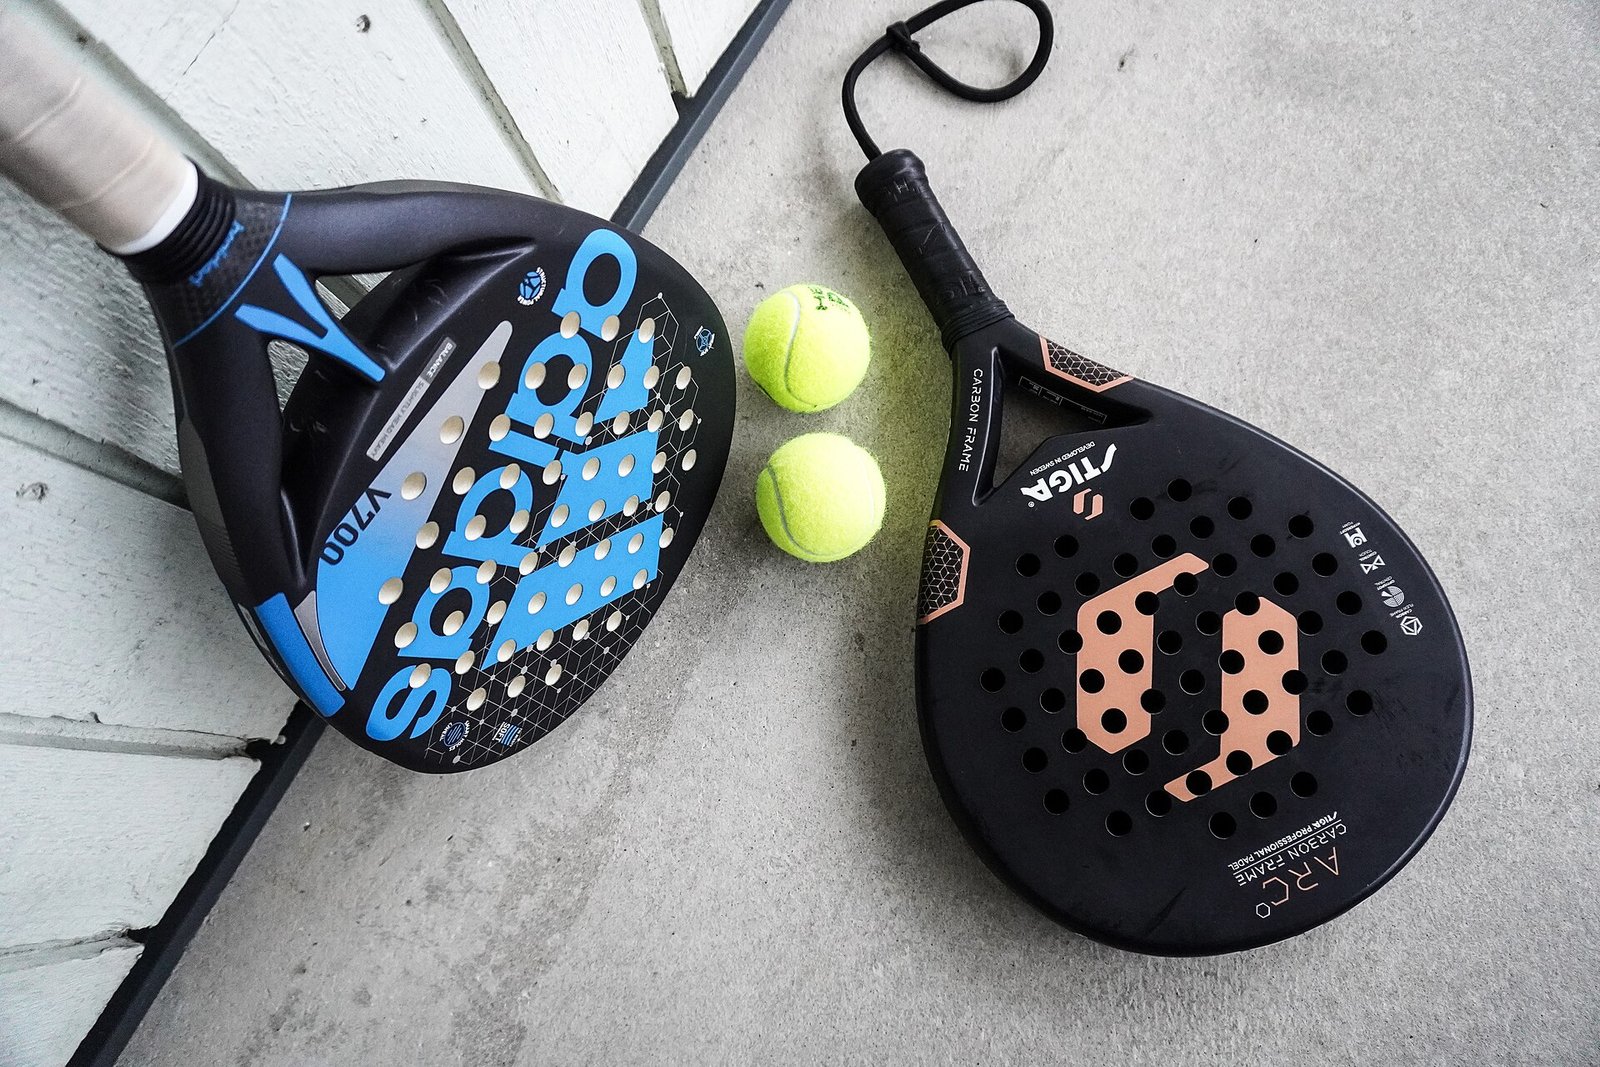
For your first games, rent or borrow — full stop. A rental racket teaches you what you like before you spend anything: how the weight feels in a rally, whether the grip size suits your hand, whether you prefer a rounder, more forgiving head. What matters for those rented games is comfort basics only: the grip should let your fingers wrap with a small gap to your palm, and the racket should feel easy to swing one-handed for an hour, not impressive for one smash. When you are ready to buy your own, our guide to the best padel rackets walks the shapes and levels properly — and if you want the grams explained, the padel racket weight guide covers why beginners are steered to the lighter, friendlier end of the range. One rule applies from your very first rally, rental or not: the racket’s wrist safety cord goes around your wrist before every point. It is obligatory under the rules, it protects the three people sharing a glass box with your backhand, and it quickly becomes as automatic as tying your laces.
Balls, water and the small stuff
Use proper padel balls — they look like tennis balls but run slightly lower pressure, which is what the small court is calibrated for; a fresh tennis ball in a padel cage is a trampoline. Three balls is the standard tube, and a veteran’s trick is worth stealing on day one: mark yours with a dot of pen, because every pair on every court in the building is playing with identical yellow balls and they migrate. Beyond that: a full water bottle (you will sweat more than the gentle image suggests — rallies are short but relentless, and changeovers are brief), a small towel, a spare overgrip or sweatbands if you are a heavy sweater, and a phone kept outside the cage. Arrive a few minutes early to change, strap on and knock up; on a one-hour booking, the game’s real opponent is the clock.
The one grip, and the ready position
Ask a coach what to teach a beginner first and the answer is almost never a shot. It is how the hand sits on the handle, and where the body waits between shots — because every shot you will ever hit starts from those two things, and both are simpler in padel than in any other racket sport.
The continental grip: shake hands with your racket
Padel is played, at beginner level and far beyond it, with one grip for everything: the continental grip. Hold the racket out in front of you by the throat with your free hand, face perpendicular to the ground like the blade of a knife. Now take the handle with your playing hand as if you were shaking hands with it — palm wrapping naturally around the handle, the V between your thumb and index finger settling on the top bevel of the grip, index finger slightly separated from the others like a trigger. That is it. That handshake is your forehand grip, your backhand grip, your volley grip, your serve grip and your overhead grip.
Why one grip works here when tennis needs several: the padel swing is compact. The racket is short, the ball is slower, and most shots are played with a short backswing and a firm wrist rather than a long, grip-changing wind-up — so the neutral continental hand position, which presents the same face angle on both sides of the body, is never badly wrong. Beginners who arrive from tennis and keep switching to a strong forehand grip buy themselves a fraction more topspin on one shot and a disaster on every rushed backhand and volley. Beginners who arrive from nowhere and grip the racket like a frying pan — palm flat under the handle — can hit exactly one shot, a lobbed-up forehand, and nothing at the net at all. Shake hands with it, and leave your hand there for the whole session. Your only mid-match grip job is maintenance: if your hand sweats and the racket starts to turn on contact, that is an overgrip problem, not a technique problem — a fresh overgrip costs little and fixes it instantly.
The ready position: where points are actually saved
Between shots, you are not resting — you are loading. The padel ready position, held for the two seconds before every opponent’s shot, looks like this:
Build your ready position
Feet: a little wider than your shoulders, knees softly bent, weight on the balls of your feet — heels light, never planted. From the back of the court you stand a step behind the service line, close enough to the glass that a deep ball still has room to bounce and rebound into your swing.
Racket: held up in front of your chest, face angled slightly upward, both hands on it — playing hand on the grip, free hand supporting the throat. A racket carried at your hip has to travel half a metre before it can play a ball; a racket carried at chest height is already a volley waiting to happen.
Eyes and head: watch the ball on the opponents’ rackets, not the one in the air you just hit. The rally you are in is always the next shot, not the last one.
The reset: after every shot you play, recover to your position and rebuild the stance — small adjustment steps, never a flat-footed admire-your-shot pause. The pair that recovers together is ready together; the pair that watches its own shots gets beaten by the reply.
One refinement earns its keep from your first session: the split step. As your opponent is about to strike the ball, make a tiny hop — both feet leaving the floor by a centimetre or two, landing back in the ready stance just as they make contact. It sounds like choreography and feels like nothing, but it loads your legs in the moment the ball’s direction becomes knowable, and turns a flat-footed lunge into a balanced first step. You do not need to be told your body does this in other sports; padel just asks you to do it on purpose, on every shot, until it is a habit. Combine it with the simplest beginner positioning rule of all — never stand in the doorway zone halfway between net and glass for longer than a passing step. That no-man’s-land, around the service line, is where balls land at your feet and half-volleys go to die. You are either up at the net doing a job, or back behind the service line doing a job. The middle is a corridor, not a home.
Let the glass play for you
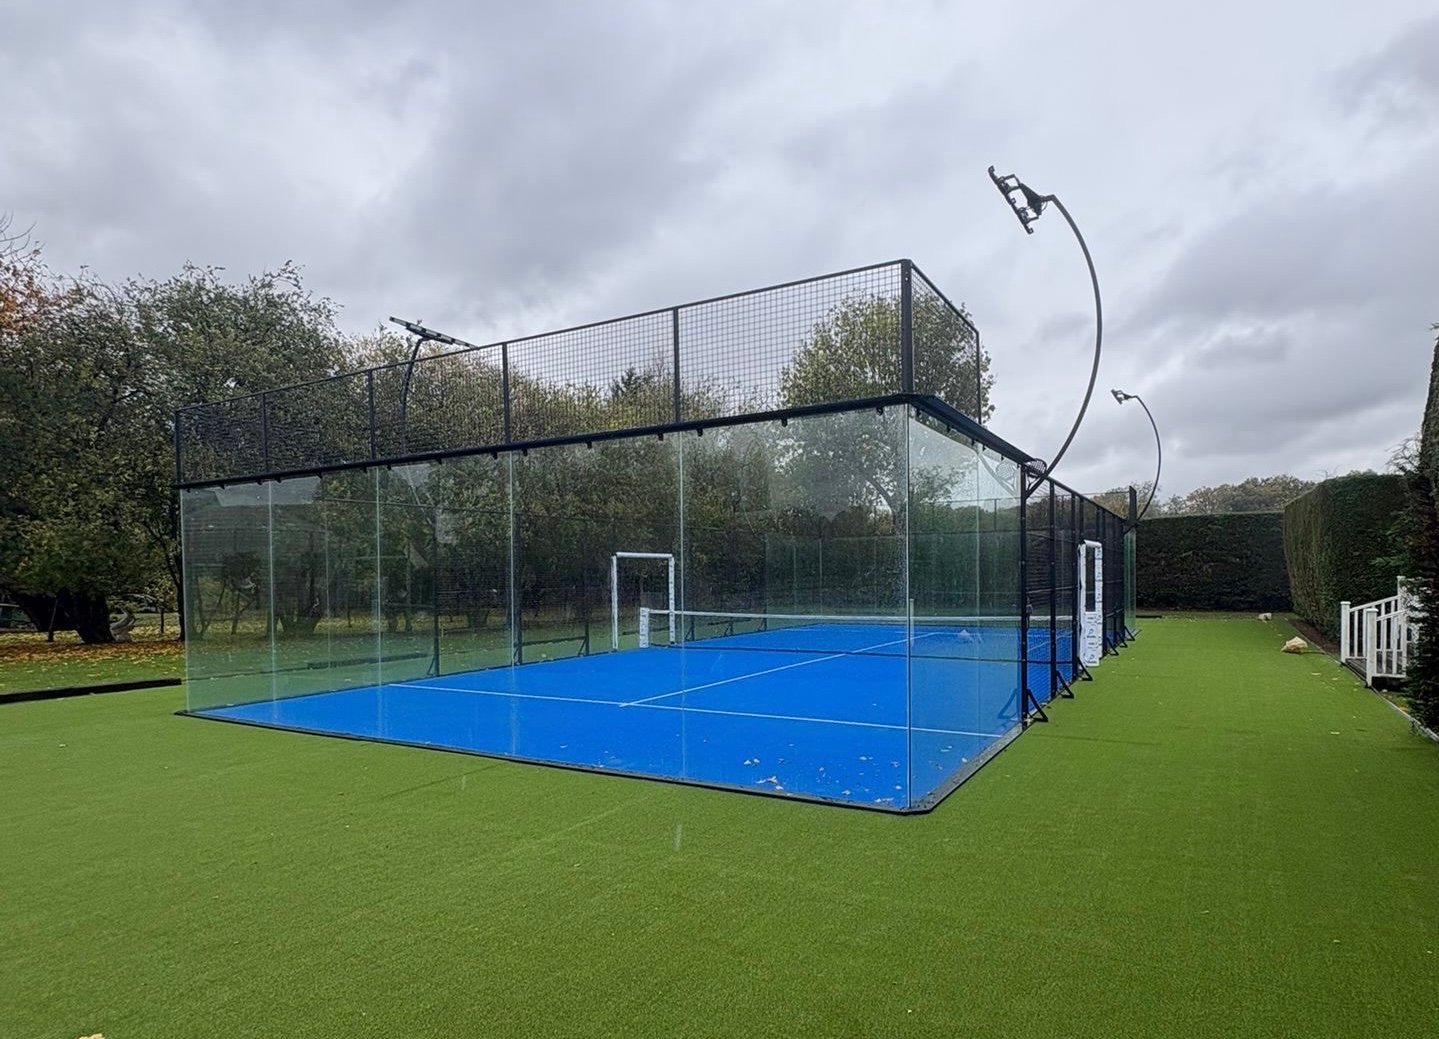
Here is the moment that defines a first padel game. A rally is running, your opponent drives a ball deep and hard towards your back corner — and every instinct from every sport you have ever played tells you to sprint backwards and swat at it before it passes you. In padel, that instinct is wrong. The ball is heading for the glass behind you, and the glass is about to do something wonderful: stop the ball, and send it back to you. Your job is not to chase the ball backwards. It is to let it go, turn, and play it on its way back — with more time, more balance and a better look at the shot than the lunge ever gave you.
The mindset shift: the wall is a pass, not a wall
Think of the back glass as a very reliable teammate who returns every deep ball to roughly the same place: a few steps in front of the glass, at a comfortable height, travelling towards the net. The sequence feels alien for exactly one session: the ball bounces on your floor (it must — that is what makes it legal and predictable), rebounds off the glass, and floats back into the court where you are now standing side-on, ready. The two beginner errors are mirror images: panic — lunging at the ball before the glass and mishitting a shot you never needed to rush — and freezing — watching the ball bounce, hit the glass, bounce a second time at your feet and die, because nobody told you the point was still alive. Between those two errors sits one of the most satisfying feelings in beginner sport: letting a “winner” sail past your shoulder, turning, and sending it back.
The three glass situations you will actually meet
1. The deep rally ball. The everyday case. The ball bounces deep in your half and carries on towards the glass. Take two or three steps back as it passes you, turn your shoulders side-on to the net, and let the rebound come to you — then play a controlled groundstroke from in front of the glass, aiming deep or cross-court. You will be surprised how often the rebound sits up at perfect hitting height. The mistake to avoid is standing your ground and stabbing backwards at a ball already behind you; the glass was offering you a better shot for free.
2. The serve that runs to the glass. A well-struck serve bounces in your service box and keeps travelling to the back wall. Same answer, bigger stage: you are allowed — expected — to let it come off the glass and return it on the rebound. This is the single most liberating discovery in a first match, because it turns the serve you “couldn’t reach” into a routine return. Position a comfortable step further back than feels natural, and give the serve the space to finish its journey.
3. The ball into the side glass and the corners. Angled shots rebound off the side glass after bouncing, and balls into the corner where back glass meets side glass come off two walls in sequence — the famous double-wall rebound. For month one, keep this simple: if a ball goes into the corner, let both rebounds happen and play the ball as it emerges into open court rather than digging at it inside the corner. Corner balls look impossible and are usually just slow. Patience is a technique.
Two boundaries keep the glass honest. The ball must bounce on your floor before it reaches the glass — a ball you allow to fly straight into your back wall without bouncing has already ended the point against you, so watch the bounce, not the wall. And the mesh above and beside the glass is not the glass: rebounds off the metallic fencing come off dead and sideways, which is why experienced players treat a ball heading for the mesh very differently from one heading for the glass. In your first month, simply note the difference when it happens — reading which surface a ball is heading for, early, is the quiet skill underneath all the others.
You and your partner: one unit, two jobs
Tennis singles players visiting padel describe the same shock: they keep playing their half of the court like a private garden, while the game keeps being decided in the shared spaces — the middle, the net, the moments both players move or neither does. Padel is a partnership sport in a cage barely wide enough for two people side by side, and in a first month your positioning as a pair will win you more points than any shot either of you learns.
Pick a side, and keep it
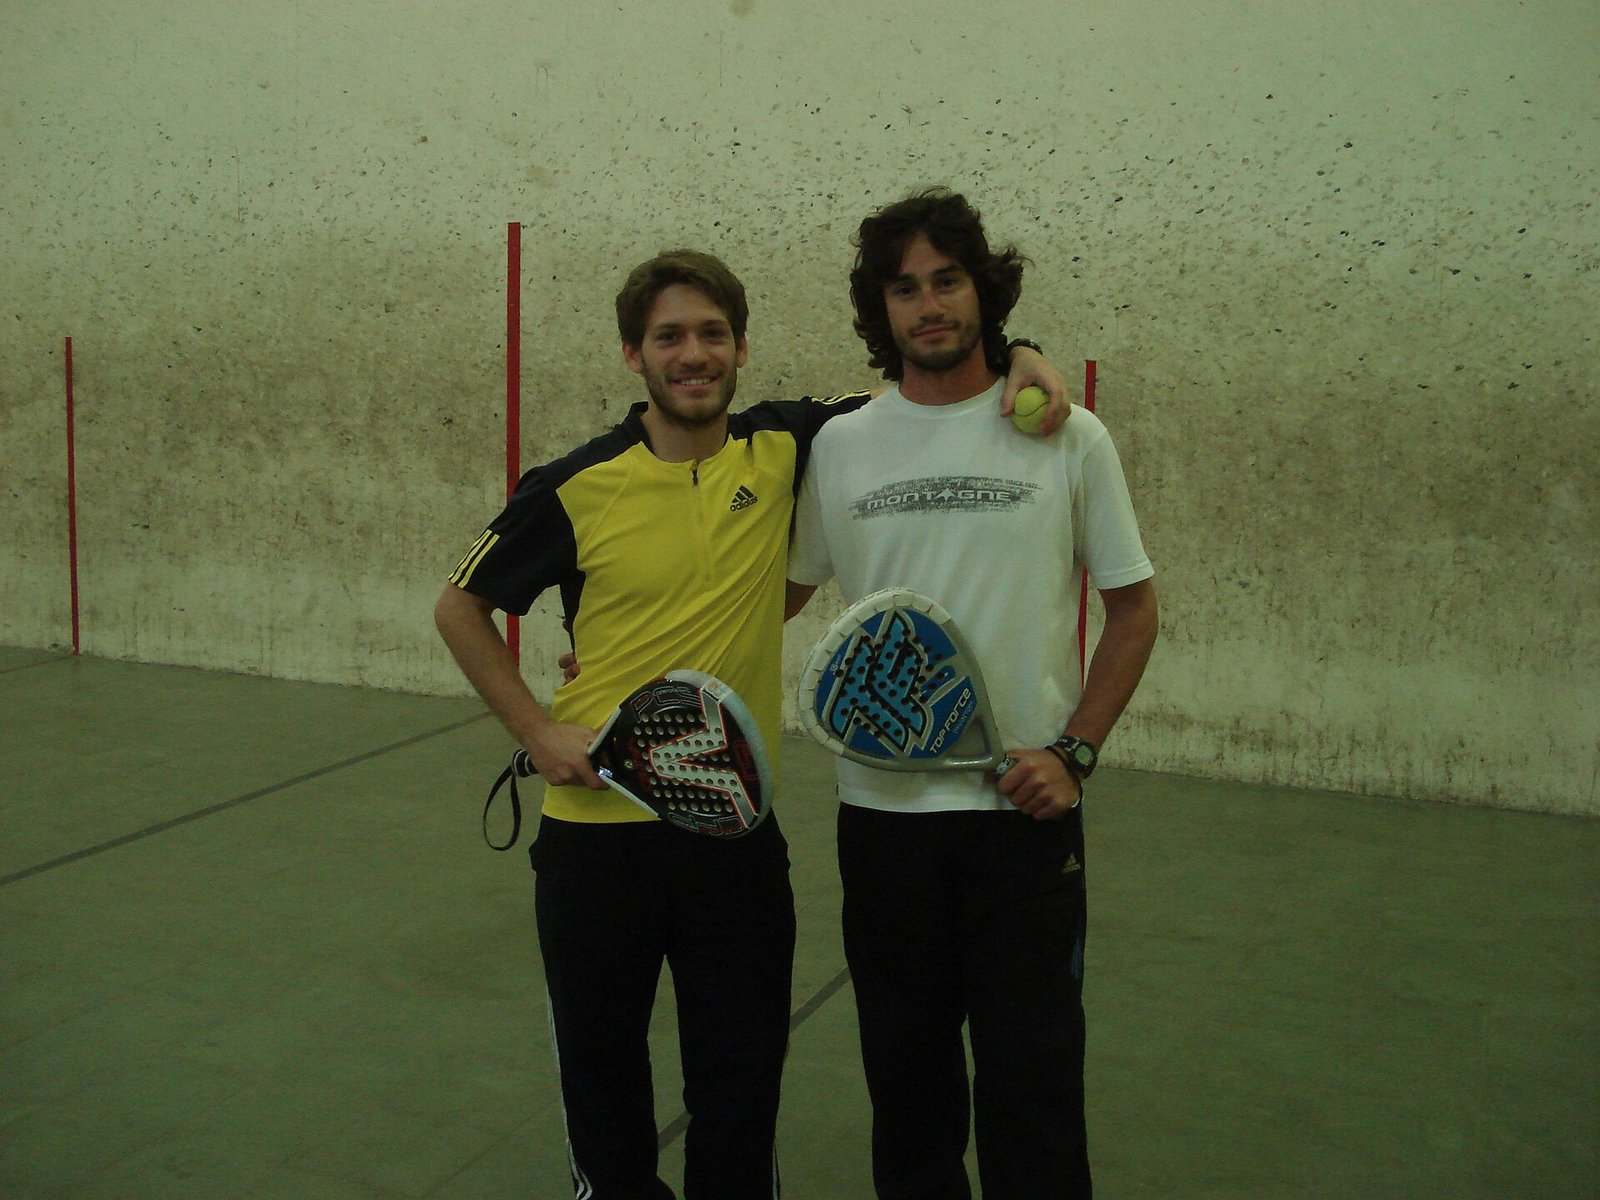
Before the first game, agree who plays right and who plays left, and stay there for the whole match. The sides ask different things: the right-side player is usually the builder — steadier, more defensive, covering the middle with their forehand and keeping rallies alive; the left-side player usually plays a step further forward, takes the overheads down the middle and finishes more points. In a first month neither of you has a résumé for either job, so decide by temperament (the calmer defender takes the right) or by backhand (the player with the stronger backhand is safer on the left, where the backhand guards the outside wall less often and the forehand owns the middle). What matters is not which of you goes where — it is that you stop swapping. Fixed sides turn “whose ball is that?” into a habit with an answer.
Move together, or get split together
The geometry is unforgiving: the net is where points are won, the glass is where they are saved, and a pair strung out between the two — one at the net, one at the back — leaves a ball-shaped hole in the middle distance that every opponent finds. So move as one unit: after your pair serves, both of you come forward and hold the net together; when a lob sails over one of you, both of you retreat — the partner who wasn’t lobbed included, because a lone defender at the back is a target, not a wall; when you win the net back, you win it back together. The simplest form of the rule for a first month: match your partner’s depth. Glance across before each point — if they are at the net line, so are you; if they have been pushed to the glass, join them there rather than guarding empty net. Lateral movement is the same: shade side to side together towards the ball, keeping the gap between you constant, so the middle never opens into a motorway.
The three words, and the middle ball
Every ball hit between you is a tiny negotiation, and negotiations conducted in silence end in either a collision or a shared watch as the ball bounces twice. Fix it with three calls, made early and loudly: “Mine” when you are taking it, “Yours” when you are leaving it, and “Leave” when a ball is flying long into the glass or mesh and your partner is winding up to donate a point. A useful first-month convention for the true middle ball — the one either forehand could take — is that the player who calls first owns it, and the other clears out instantly, no debate, no apology tour. As the month goes on most pairs settle into the classic arrangement on their own: the left-side player’s forehand, coming across the body of the court, takes most middle balls. Until it settles, calls beat conventions. And one social rule that will decide whether you get invited back: never audit your partner’s errors out loud. Padel partnerships run on the next point. The pair that says “mine, sorry, next one” beats the pair with the better technique and the running commentary — in results, and in invitations.
Your first three shots: serve, return and the lob
You do not need a repertoire in month one. You need three shots that start rallies, keep rallies alive and get you out of trouble — plus one overhead you will meet constantly and should learn in its beginner form. Here they are, in the order you will use them.
The serve: a placement shot, not a power shot
The padel serve is underarm and gentle by design — bounced, struck at or below waist height, sent diagonally into the service box (the step-by-step mechanics live in our how to play padel guide). What belongs here is how a beginner should use it. Your serve has two jobs: start the rally legally, and let your pair take the net. So aim it like it matters and swing it like it doesn’t: a controlled serve into the deep corner of the box, towards the glass, forces the receiver to deal with a rebound or a retreating return; the same serve aimed at the side glass makes the returner play off a second wall; and when in doubt, deep through the middle removes the angles entirely. The beginners who double-fault are almost never the ones swinging gently — they are the ones trying to hit a tennis serve with an underarm action. Use your second serve as a guarantee, not a retry of the first: slow it down, aim it bigger, get it in. Then walk forward and join your partner at the net — the serve is the starting gun for your pair’s advance, not a shot to admire from the baseline.
The return: deep, middle, and off the glass when it’s offered
The return of serve is where beginner rallies go to be born or to die in the net. Three habits fix most of it. First, start deeper than feels natural — a step or so behind the service line, close to the glass — because the serve must bounce before you may play it, and depth buys you the full menu: play it before the glass if it sits up, or off the glass if it runs on. Second, aim for depth, not corners: a return sent deep towards the server’s feet as they advance, or high and deep as a lob over their partner, keeps your pair in the point; a return ripped at a corner has two extra ways to miss. Third, when the serve comes at your body — the jammed return every receiver hates — shorten everything: no backswing, block the ball back with the face angled up and deep, and let placement do the job your swing has no room to do. A blocked return that lands deep is a good return. A beautiful swing that hits the net tape is not.
The volley: block it, don’t swing at it
Your first net play will feel rushed, and the natural response — a proper groundstroke swing at a ball a metre away — is exactly wrong. The beginner volley is a block: continental grip (which you already have), racket up in front of your chest (which your ready position already does), a short punch of a few centimetres meeting the ball in front of your body, strings angled to send it deep, back where it came from or into the open middle. Keep your wrist firm, your swing tiny and your feet planted in that ready stance; the pace is already on the ball, supplied by your opponent, and your job is merely to return it with interest removed. You will mishit some. Everyone does, at the net, in month one. The volleys that lose points are not the mishits — they are the full swings that were never going to fit in the space.
The lob: the beginner’s best friend
If one shot could be issued to every new player at the door, it would be the lob. Whenever you are stretched, defensive, late, or simply out of ideas, a high ball sent deep over the net pair’s heads towards their back glass resets everything: it pushes the attacking pair backwards, buys your pair the seconds to recover to the glass together, and — often enough — wins the net for you outright when it lands deep and dies off the wall. Play it with a smooth, full swing and an open racket face, aiming for height first and depth second; a lob that falls short is an invitation to be smashed at, but a lob with real height is awkward to attack even when it lands mid-court, because it drops almost vertically off its peak. New players underuse the lob because it feels passive. It is not passive — it is the shot the entire attacking system of padel is built around answering. Which brings us to that answer.
Meeting the lob: the bandeja, beginner version
When your pair holds the net and a lob goes up over you, somebody has to play an overhead — and the overhead padel is built on is not the smash. It is the bandeja (“the tray”): a controlled, sliced overhead played from a side-on stance, racket high and face angled like a tray being carried, sending the ball deep and low towards a corner, bouncing it into the glass so it dies rather than sitting up. Its purpose is not to win the point — it is to keep the point: it holds your pair’s net position, keeps the ball deep, and asks the defenders to do the hard work again. For your first month, your bandeja needs only three ingredients: get side-on early and move back under the ball rather than reaching behind you; keep the swing compact and flat rather than a tennis smash’s full windmill; and aim it deep, accepting a rally that continues over a rally that ends with your smash rebounding off the glass into your opponents’ best counterattack. The smash itself — the flat, full-power overhead — is a genuine shot, and it will come. But it is a month-three shot. The bandeja is the month-one overhead, and learning it early is the fastest way to look like you belong at the net.
The 10 mistakes every beginner makes
None of these will surprise you by the end of your first session — you will have made several, in a glass box, in front of witnesses. They are listed here so that you make each of them once, recognise it, and file it. Every one comes with its fix, and the fixes are all smaller than the mistakes feel.
| # | The mistake | What happens | The fix |
|---|---|---|---|
| 1 | Standing in no-man’s-land | You camp around the service line — too deep to volley, too shallow to defend — and balls land at your feet all night. | Be somewhere on purpose: up at the net or back behind the service line. Treat the middle as a corridor you cross, not a place you live. |
| 2 | Swatting at balls heading for the glass | You lunge backwards at deep balls and mishit shots that the glass was about to turn into easy rebounds. | Let it go. Bounce, glass, play it coming back. The drill in the glass section rewires this in one warm-up. |
| 3 | Trying to win every point | Corner-hunting and hero shots spray errors; your opponents win without doing anything. | Aim deep and through the middle. At beginner level the pair that misses less wins, almost every time. Make the other pair hit one more ball. |
| 4 | Swinging at volleys | Full backswings at the net end in the net, the glass, or your partner’s ducking drill. | Block and punch. Short swing, firm wrist, ball met in front of you, sent back deep. |
| 5 | The tennis serve | Trying to generate power with an underarm action produces faults, netted balls and a sore shoulder. | Serve for placement: deep corner, towards the glass, or at the body. Second serve slower and bigger-margin, always in. |
| 6 | Silence between partners | Middle balls bounce twice between two watchers, or two rackets collide over the same ball. | Call “mine”, “yours”, “leave” on every shared ball, early and loud. Call first, own it, no debates. |
| 7 | One up, one back | You hold the net alone while your partner defends the glass (or vice versa) and opponents thread balls into the hole between you. | Match your partner’s depth. Advance together after serving, retreat together when lobbed. |
| 8 | Smashing every lob | Your full-power overheads rebound off the glass straight to your opponents, who counter while you are off balance. | Play the bandeja: controlled, sliced, deep to a corner. Keep the net, keep the rally, let them make the mistake. |
| 9 | Watching your own shot | You admire a good ball for half a second and the reply is past you before you move. | Recover first, appreciate later. Shot, reset to position, rebuild the ready stance — on every ball. |
| 10 | Forgetting the wrist cord | One slipped swing sends your racket across a glass cage — a lost point, and three unimpressed witnesses. | Cord on before every point, as automatic as closing the gate. No exceptions, including “just this one rally”. |
Read the list again and notice the shape of it: only two of the ten are really about hitting the ball (the volley swing and the smash). The other eight are about standing, moving, calling and waiting — which is the best news a beginner can get, because positioning and patience improve in a single session, while technique takes the month. Play your first game as a positioning exercise with a racket in your hand, and the shots will take care of themselves far sooner than you expect.
Etiquette and rotation: how club games actually run
Nobody hands you the social rulebook at the desk, but there is one, and a beginner who follows it gets invited to the good games. It splits into two halves: how to behave inside your four, and how the wider club night — rotations, Americanos and open courts — actually works.
Inside your four
Warm up like a guest, not a gladiator. The knock-up is shared and brief: easy rallies from the back, a few volleys each, some practice serves, and start. Feed balls your partners can hit — the warm-up is for everyone’s timing, and the player who spends it rehearsing smashes at the beginners is remembered, in the wrong way. Call your own game honestly. There is no umpire at club level: you call the balls on your side, you concede the serve that clipped the mesh, you admit the second bounce you hoped nobody saw, and you call the score out before you serve so the game never dissolves into arithmetic arguments. Genuine doubt goes to a replay, offered quickly. Keep the game moving. Collect balls on your side as points end, serve when your opponents are ready rather than when you feel like it, and treat the changeover as a sip and a towel, not a seminar. And the oldest rule in the sport: never walk behind or across another court’s rally — wait for their point to end, always, even when yours is waiting on you.
Rotations and Americanos: the social engine
Most clubs run beginner-friendly open sessions where you do not need a fixed four at all — you sign up as an individual and the format pairs you up. The commonest is the Americano: short matches or timed rounds with rotating partners, so over a session you play with and against everyone in the group, scoring points as an individual across all your mini-matches. Its cousin the Mexicano sorts the pairings as it goes, matching players by their running results so games stay close. Other courts run simpler winner-stays-on rotations with pairs splitting after each short set. Whatever the flavour, the mechanics are the same and worth knowing before you arrive: games are short, partners change constantly, scores are called in and added up by the organiser, and the entire point is mixing levels socially rather than crowning anyone. For a beginner these sessions are gold — you will play more balls, against more styles, in ninety minutes of Americano than in a week of closed bookings, and you will leave with a phone full of future playing partners. They run at clubs everywhere the sport is played; if the Gulf is your base, our guide to padel courts in Dubai covers the club scene these rotations live in.
Two rotation habits mark out the beginner everyone wants back. Play down gracefully in mixed games: if your random partner is newer than you, feed them balls in the warm-up, give them the easier side if they want it, and never — in any session, at any level — blast balls at the weakest player to farm points in a friendly. And rotate without lobbying: take the partner and the court the format gives you, every round, with good grace. The organiser’s spreadsheet has a longer memory than any single evening’s results.
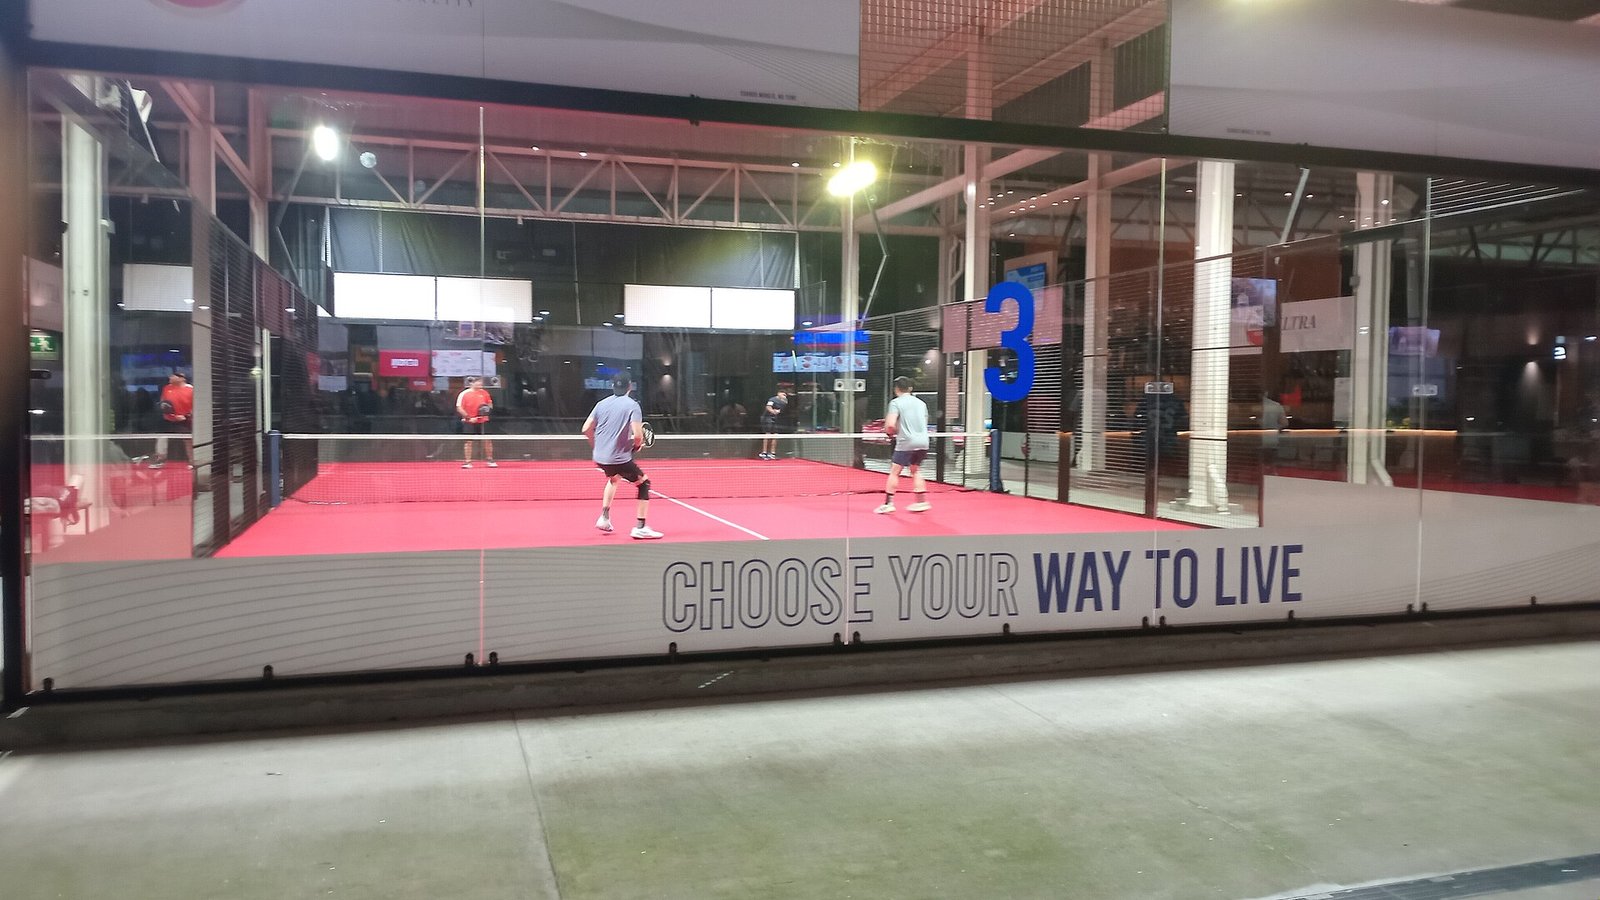
Your first month: a simple progression
Beginners improve fastest with one focus per session rather than a head full of tips. Here is a four-week shape that works for one or two sessions a week — each week keeps the previous week’s habit and adds exactly one layer.
| Week | The one focus | What it looks like on court |
|---|---|---|
| 1 | Survive and enjoy | Ready position, continental grip, wrist cord, calling your balls. Success is rallies happening at all — and they will, thanks to the glass. Rent the racket, take the Americano slot, go home hooked. |
| 2 | The glass and the partnership | Deliberately play deep balls off the back glass instead of lunging; fix your side with your partner and move up and back together. Success is the first rally you win by patience, outlasting rather than outhitting. |
| 3 | The lob and the net | Lob whenever you are in trouble; when you win the net, block volleys back deep instead of swinging. Success is taking the net as a pair and holding it for whole rallies. |
| 4 | The bandeja and placement | Answer lobs with the controlled bandeja to the corners; aim groundstrokes deep and through the middle on purpose. Success is points you construct — lob, bandeja, volley — rather than points that happen to you. |
Somewhere inside that month, take one lesson if you can. Not five, not a course — one hour with a club coach, early, before your self-taught habits set like concrete. Coaches are ruthlessly efficient with beginners precisely because the beginner error list is so short: they will adjust your grip by millimetres, stand you in the right postcode, and give you two drills (the glass drill above is a classic) that organise your practice for months. Everything after that is mileage: sessions against slightly better players teach faster than sessions you win, an Americano a week keeps your partner skills honest, and the single best investment after the lesson is an extra overgrip and a standing weekly game. Notice what progress feels like, because it is not a thunderbolt — it is rallies lasting two shots longer, deep balls stopping scaring you, and the first evening you realise you did not think about your feet once.
The first-game checklist
Pin this version to the inside of your head for your first month:
- Kit: court shoes, any racket with its cord on your wrist, three marked balls, water. Rent first; buy when you know what you like.
- Grip and stance: continental handshake grip for every shot; ready position between every shot — knees soft, racket up, weight forward, split step as they strike.
- Glass: bounce first, then walls. Let deep balls come off your back glass and play the rebound; patience is a technique.
- Pair: pick a side and keep it; move up and back together; “mine”, “yours”, “leave” on every shared ball.
- Shots: serve for placement, return deep, block your volleys, lob when in trouble, bandeja — not smash — on overheads.
- Culture: call your own faults, call the score, keep it moving, and be the partner everyone asks back.
Padel for beginners — FAQs
What should a beginner actually focus on in their first padel game?
Five things, in this order: stand in a ready position between shots (knees soft, racket up in front of your chest); hold the one continental grip for every shot; let deep balls bounce and come off the back glass instead of lunging at them; move up and back together with your partner rather than splitting the court between you; and aim your shots deep and through the middle instead of hunting corners. Technique can wait — those five habits, all learnable in one session, will carry your first month.
Which grip should beginners use in padel?
The continental grip — take the handle as if shaking hands with it, the V between thumb and index finger on the top bevel of the grip. Padel’s swings are compact, so this one neutral grip covers the forehand, backhand, volleys, serve and overheads without any mid-rally changes. It is the grip coaches teach first precisely because a beginner who never has to change grips can spend their whole first month on positioning and timing instead.
Should beginners use the glass walls, or try to play everything before the wall?
Use the glass — deliberately, from your very first game. A deep ball that bounces and rebounds off your back glass comes back to you slower, higher and more predictably than the same ball taken in a backwards lunge. Let it bounce, let it rebound, turn side-on and play it as it returns towards the net. The only discipline is the order: the ball must bounce on your floor before it reaches the glass, and it must be played before its second bounce. Our guide on how to play padel covers the full rules of wall play.
What shoes should I wear for my first padel games?
Court shoes: tennis, padel or all-court shoes with a grippy, non-marking sole and a low, stable heel. Padel is played on sand-dressed artificial turf with short lateral shuffles and lunges, and court soles are built to bite on that surface and hold you upright when you turn. Avoid running shoes — their high, soft, narrow heels are designed for straight lines and roll exactly when padel asks you to plant sideways. If you already own clay-court or all-court tennis shoes, they are an ideal starting point.
Do I need to buy a racket before my first game?
No — and you are better off not buying one yet. Almost every club rents rackets by the session, and a few rented games teach you what you actually like: how the weight feels across a full hour, what grip size suits your hand, whether a rounder, forgiving head fits your game. Buy once those answers exist. When they do, our guide to the best padel rackets covers the shapes and levels, and the padel racket weight guide explains why beginners start at the lighter, friendlier end of the range.
What is a bandeja — and should a beginner try it?
The bandeja is padel’s standard overhead: a controlled, sliced shot played side-on with the racket face angled like a tray, sending a lobbed ball deep and low towards a corner so it dies off the glass. Its job is not to win the point outright but to keep your pair at the net and force the defenders to work again. Yes — beginners should learn the bandeja early, in exactly that controlled form. It is the full-power smash that can wait: a smashed ball that doesn’t finish the point rebounds off the glass straight back to your opponents.
How do social padel rotations like the Americano work?
An Americano is a club-run social format: you enter as an individual, then play a series of short matches or timed rounds with constantly rotating partners, scoring points for yourself across every mini-match. Its relative, the Mexicano, re-pairs players by their running results so games stay evenly matched. Both formats are ideal for beginners — no fixed four needed, lots of balls against lots of styles, and a ready-made group of future playing partners by the end of the session. Just turn up with court shoes; the organiser handles the rest.
About this guide: These first-game tips reflect standard beginner coaching practice for padel; the rules framework they sit inside follows the International Padel Federation’s Rules of Padel, covered in full in our linked rules guides. Club formats (Americano, Mexicano, winner-stays-on rotations) vary in detail between clubs — your organiser’s version runs on the day. This page links only to guides on Alishuttler.com — any affiliate relationships are disclosed on the pages concerned.