
Table tennis is not played where you are standing — it is played where the ball is going. This guide teaches the five movement patterns a beginner actually needs: the ready position and split-step, the side-shuffle, the in-and-out step for short balls, an introductory crossover, and the recover-to-base habit that holds them all together — with the error that kills each pattern, and a solo drill and a partner drill for every one.
Watch any beginner rally and you will see the same shot played two different ways. When the ball comes straight at them, it flies back nicely. When the ball goes a step to either side, the same player leans, reaches, pokes the racket out at arm’s length — and the ball dribbles into the net or sails off the end. Nothing about their arm changed. The stroke did not fail; the feet never arrived. Almost every “technique problem” a beginner blames on their hand is a positioning problem that happened a half-second earlier, at floor level.
That is good news, because footwork is the most learnable part of the game. It needs no partner to start, no special talent, and it breaks down into a short list of repeatable patterns — five, at beginner level. Each pattern below answers one question the ball asks you: stay balanced and ready, slide sideways, step in, step back out, or — rarely — cross over for a ball that has truly beaten you. Learn to answer those five questions with your feet and your existing strokes start working from a balanced position instead of a desperate lean.
Two boundaries before we move. First, this guide teaches movement only — where your feet go and when. It does not re-teach strokes or serves: serve execution lives in our guide to table tennis serves for beginners, and the laws of the game — including the ones that govern where you may stand and move — live in our complete table tennis rules guide. Second, everything here is described for a right-handed shakehand player; left-handers mirror every direction, and penhold players use the same feet with a slightly different base, noted where it matters.
The short version
Stand in a low, wide ready position about an arm’s length behind the end line, weight on the balls of your feet. As your opponent strikes the ball, make a tiny split-step hop so you land balanced and able to move either way. Slide sideways with shuffle steps — never crossing your feet — for balls within a step or two. Step in with the racket-side foot for short balls, and step straight back out again. Keep the crossover in reserve for balls that beat the shuffle. After every shot, recover to your base position before the next ball arrives. Move first, hit second, recover third — that loop, repeated, is table tennis footwork.
In this guide
Why your feet decide your shots
A table tennis table is 2.74 metres long and 1.525 metres wide, and the ball crosses it in a fraction of a second. That sounds like an argument for fast hands. It is actually an argument for early feet: because the distances are small, the movement itself is never large — one or two steps covers almost everything at beginner level. What beginners lack is not speed across the floor; it is the habit of starting. They watch the ball, judge it, decide it is reachable from where they stand, and only move when it has already beaten their body. By then the choice is a lean and a poke.
Good footwork reverses the order. You move on the opponent’s contact, not on the ball’s arrival, so your feet are set and your weight is balanced before you swing. Every stroke you own — drive, push, block, loop — was designed to be played from a balanced stance with the ball in front of your body and your weight able to transfer into the shot. Played from a lean, the same stroke loses its base, its timing and its recovery, which is why one reached ball so often costs the next two as well: you are still untangling yourself when the following shot arrives.
There is also a hidden economy to it. Players who move in small, early steps look calm and spend less energy than players who lunge late, even though the early movers travel further in total. The patterns in this guide are deliberately small. If you ever find yourself running, diving or taking a big stride in a beginner rally, the answer is almost never “move faster” — it is “start earlier and smaller”, and the split-step in Pattern 1 is the mechanism that makes starting early automatic.
Ready position & split-step
The base everything starts from — and the timing hop that makes you movable in both directions.
The side-shuffle
Your default sideways move. Covers one to two steps each way without ever crossing your feet.
In-and-out
One step in for the short ball, one step back out. The pattern beginners skip — and get caught leaning.
The crossover
The emergency gear for a ball that has beaten the shuffle. Powerful, committed — and easy to misuse.
Recover to base
Not a step but a habit: after every shot, return home before the next ball asks its question.
Pattern 1: Ready position and the split-step
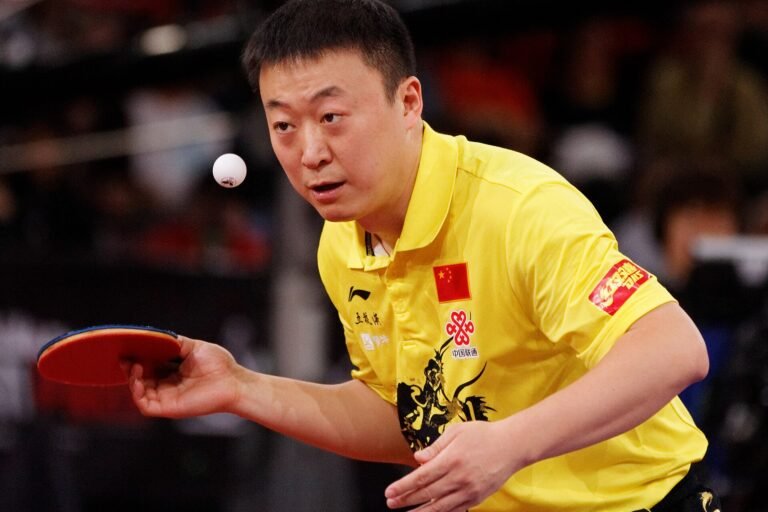
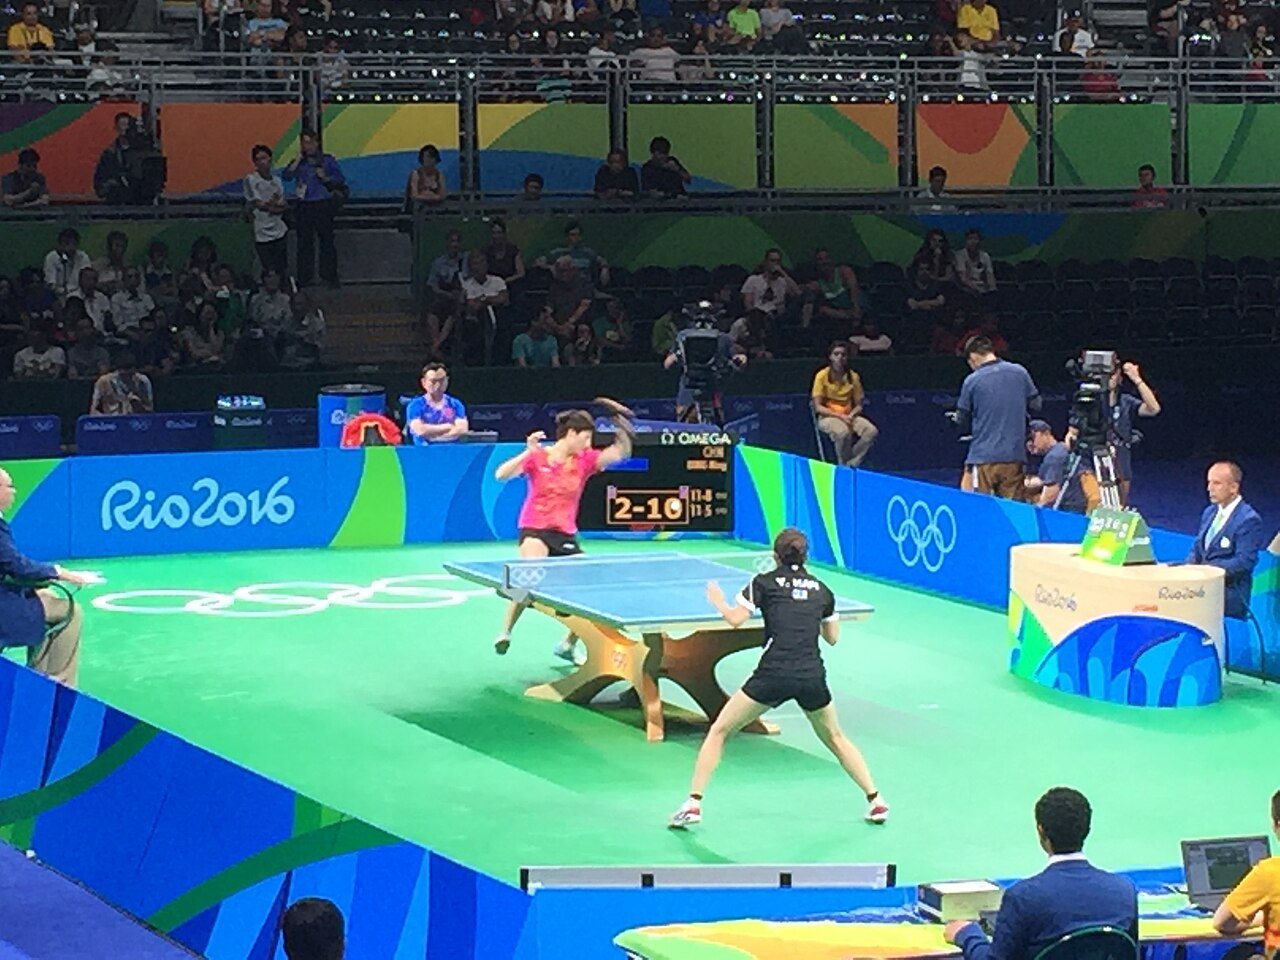
Every rally you will ever play starts from the same place, so build it deliberately. Stand facing the table, roughly centred on your half of it — most beginners play from just left of centre (for a right-hander), because the forehand covers the wider side. Your feet sit a little wider than your shoulders, knees bent, hips dropped, back straight but inclined slightly forward, and your weight rests on the balls of your feet with your heels light — not flat, not tip-toed. Your racket is held up in front of your body around waist-to-net height, elbow bent and away from your ribs, free arm loose for balance. Distance from the table: about an arm’s length from the end line is a good beginner default — close enough to take balls at the top of the bounce, far enough that a fast ball does not jam into your body.
The position is only half of the pattern. The other half is the split-step: a tiny hop — both feet leaving the floor by a few centimetres, landing together back in the ready stance — timed so that you land at the moment your opponent makes contact with the ball. Landing then means your legs are loaded like springs at the exact instant you learn where the ball is going, and you can push off in either direction without first shifting your weight. It is the same reset hop you will see in tennis and badminton, scaled down to table tennis size: small, low, and all about timing, not height.
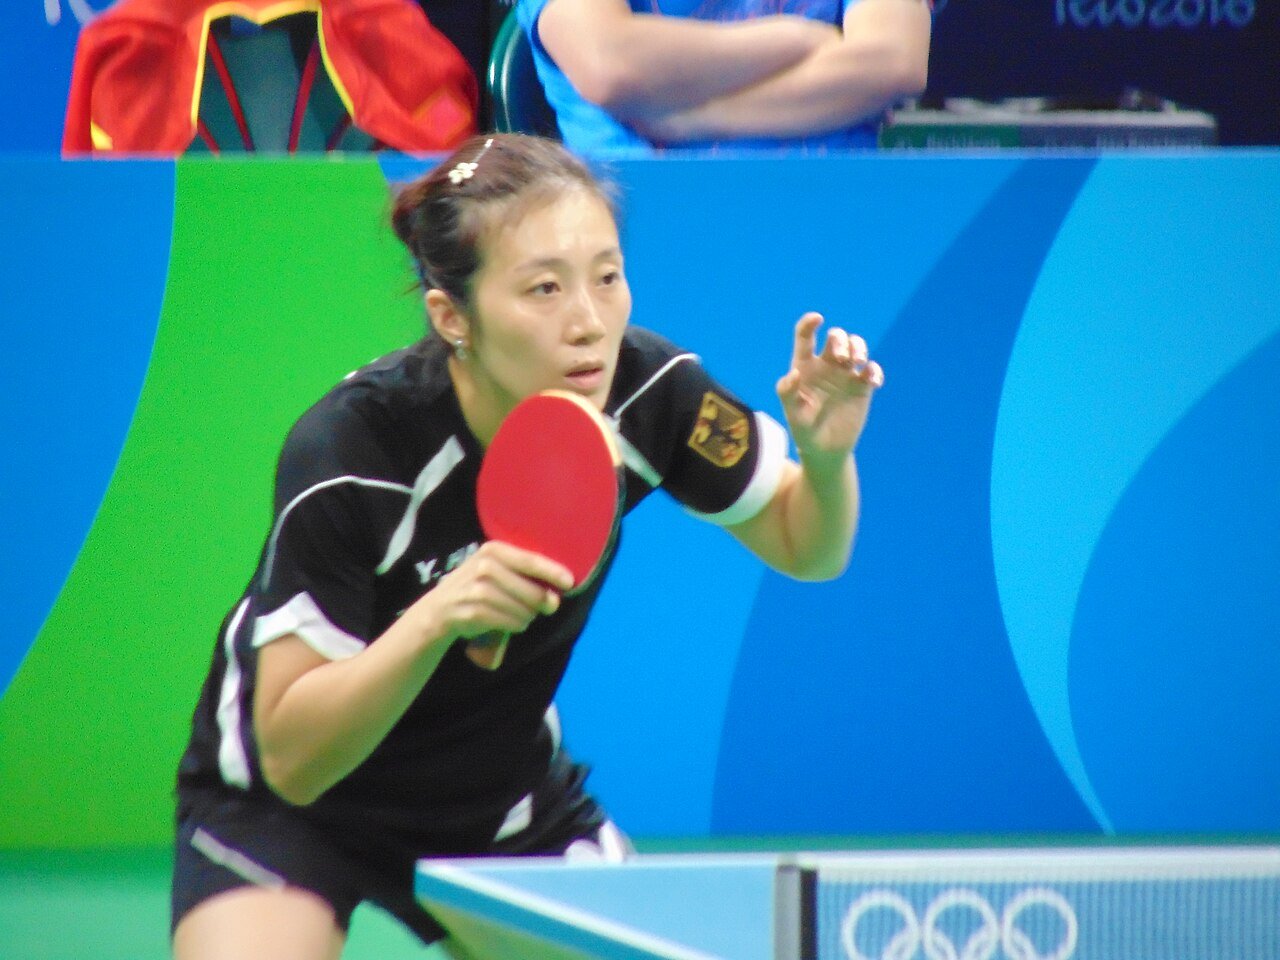
When it is used: constantly. The ready position is your home between shots, and the split-step happens before every ball your opponent plays — before their serve, and during rallies in the pause while the ball is on their side. If you only take one thing from this guide, take the timing: move your feet to the rhythm of their contact, not yours.
The error that kills it — standing flat and straight. The beginner default is an upright stance, weight back on the heels, racket dangling by the thigh, feet still until the ball is already travelling. From there, every first movement begins with a weight shift and a sway, which is why the first step always feels late. The second killer is a split-step timed to your own shot instead of the opponent’s — a decorative bounce that leaves you in the air, committed to nothing, when the ball is actually struck.
Solo shadow drill — the contact hop. Stand in your ready position facing an empty table (or a wall). Every two seconds, make your split-step hop, land, and immediately push off one step left or right at random, then return to base and repeat. Three sets of 20 hops. The goal is not height or speed: it is landing softly, on the balls of your feet, balanced enough that the push-off could go either way.
Partner drill — call and move. Your partner stands at the other end and simply points left or right at random intervals while you hold the ready position. On each point, split-step, then shuffle one step the way they pointed, and recover. Two minutes on, one minute off, three rounds. When pointing gets easy, your partner replaces the point with a gentle multi-ball feed to alternate corners — the same movement, now with a real ball to read.
Pattern 2: The side-shuffle — your default sideways move
Most balls in a beginner rally land within one or two steps of where you are standing, and the side-shuffle (also called the side-step or chasse step) is how you cover that ground. To move right: push off with your left foot, step right with your right foot, then slide your left foot across to restore your stance width. To move left, mirror it: push with the right foot, step with the left, close with the right. Three rules keep it a shuffle and not a scramble: your feet never cross, your stance width stays roughly constant — you land in the same shape you left — and your hips stay at the same height throughout, gliding rather than bouncing up and down.
The shuffle’s great virtue is that it never takes your balance away. Because your feet stay in order and your base stays wide, you can stop at any point mid-move and play the shot, or reverse direction if the ball does. That is exactly what a rally asks of you. Play the shot after the shuffle, in the small stillness when both feet are down and your weight is centred — swinging while sliding is what turns a well-moved ball into a wild one.
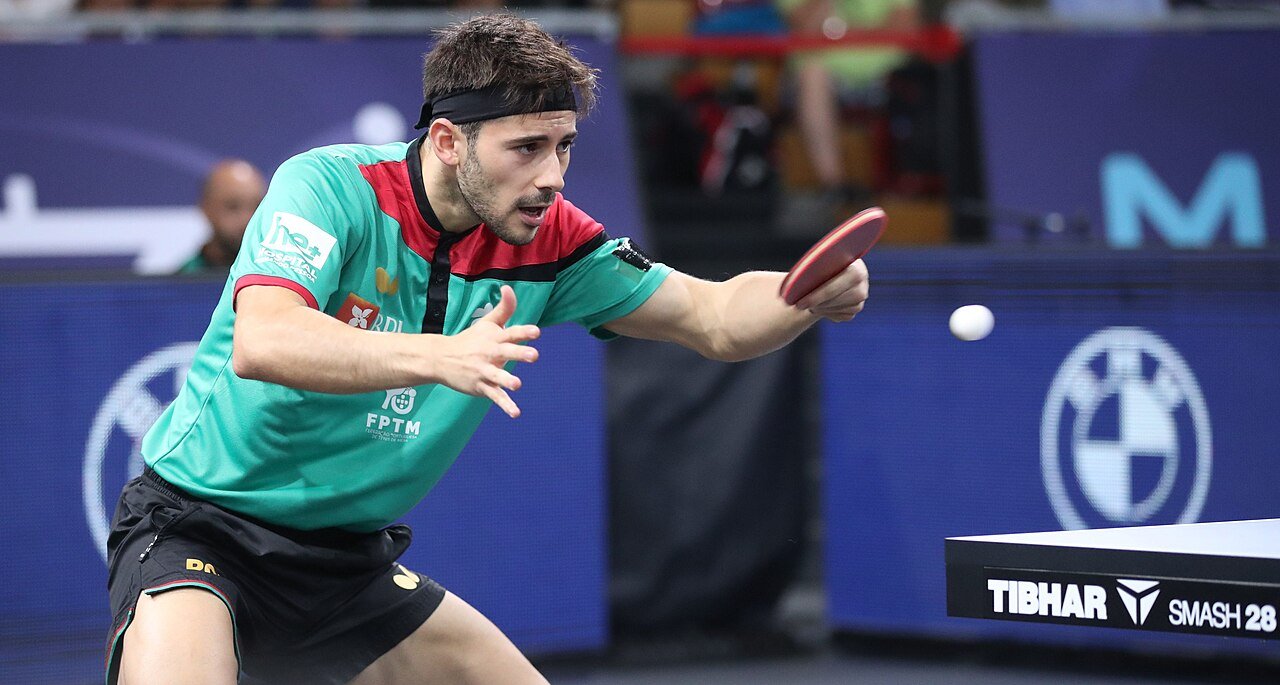
When it is used: for the large majority of sideways movement — a drive pushed a step wide, a block angled to your forehand corner, a push that pulls you half a step to the backhand. One shuffle step each way is the beginner’s working range; two chained shuffles cover nearly the whole width of your half. Chain them by repeating the same step-close rhythm, not by lengthening the stride.
The error that kills it — reaching instead of moving. The feet stay planted, the upper body leans, the arm extends, and the shot is played at full stretch with no weight behind it and no way back for the next ball. Close behind is crossing the feet — stepping the left foot across in front of or behind the right to travel faster. A crossed stance cannot stop, cannot reverse, and cannot support a swing; it converts a small move into a committed fall. If the ball is too far for the shuffle, that is what Pattern 4 is for — the answer is never to cross early.
Solo shadow drill — line to line. Stand at your base. Shuffle two steps right, play an imaginary forehand; shuffle back to base; shuffle two steps left, play an imaginary backhand; return. Keep a slow, metronome rhythm — a full cycle every four or five seconds — for three sets of 10 cycles. Watch your hips in a mirror or window reflection if you can: they should travel level, like a camera on a rail.
Partner drill — two-point forehand. Your partner blocks or feeds alternately to the middle of the table and to your wide forehand corner. You play forehands to both, shuffling between each ball and recovering toward base in between. One bucket of balls (or two minutes), then swap roles. Progress it by making the feed pattern random within those same two points, so the shuffle must react rather than anticipate.
Pattern 3: In-and-out — the short ball and back again
Sideways is only half the map. The other axis runs toward and away from the table, and it is where beginners most often get caught, because a short ball does not announce itself the way a wide one does. The in-and-out pattern is beautifully simple: when the ball bounces short — twice on your side if left alone, dropping low over the net — step in under the table with your racket-side foot (right foot for a right-hander), keeping your other foot back as an anchor. Your racket reaches the ball over the table while your head and shoulders stay upright behind your front knee; play the shot, then push off the front foot and step straight back out to your base before the next ball is struck.
Why the racket-side foot? Stepping in with the left foot twists your hips across the shot and crams your racket arm against your body; stepping in with the right foot opens the whole forehand side, lets your arm swing freely over the table, and — just as important — makes the way out a single backward step with the same foot. One foot visits, one foot stays home. The depth of the step matches the ball: a ball dropping just over the net needs your full step and a forward lean from the hips; a half-long ball may need only a half-step, or none if it carries to your normal hitting zone.
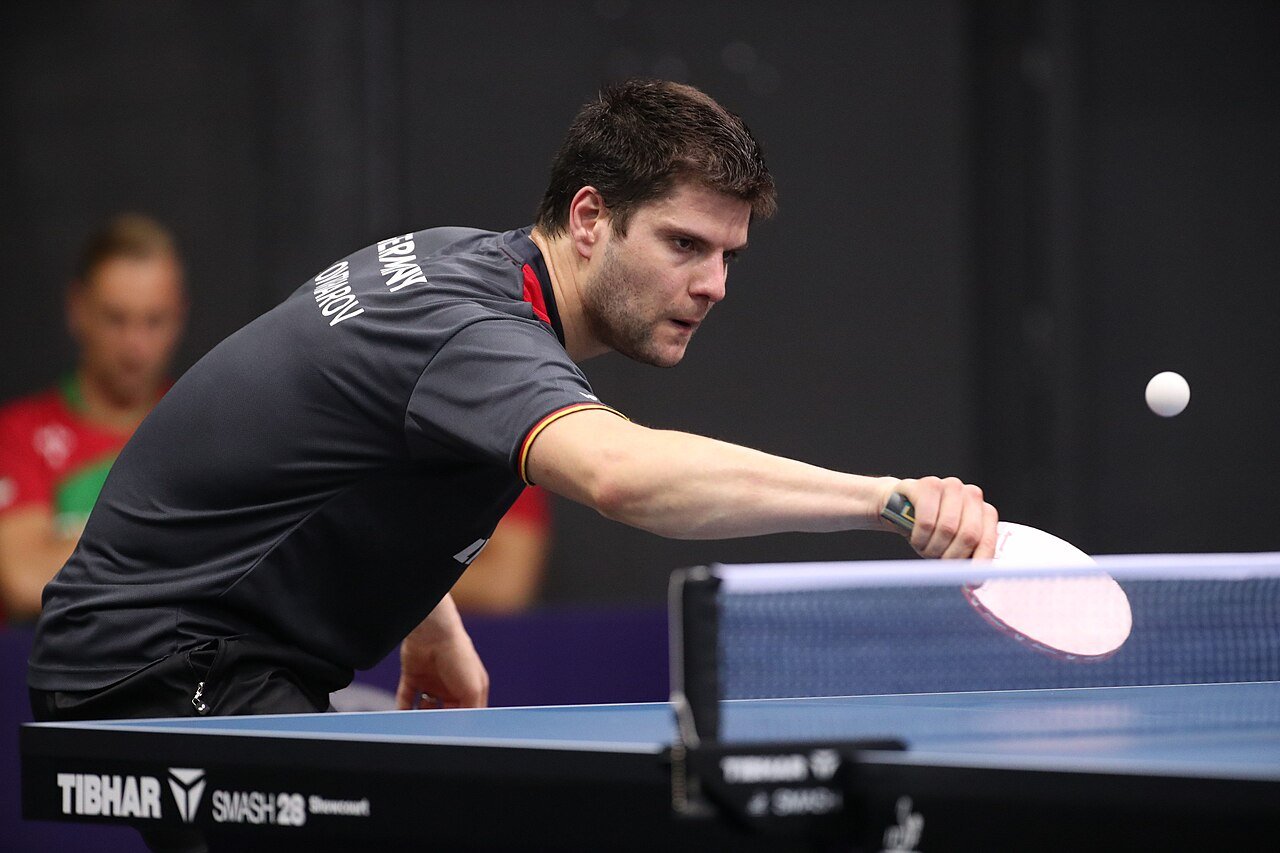
When it is used: against short serves, soft pushes that die near the net, and any ball whose second bounce would fall short of the end line. It is also the pattern behind receiving serve well — which is why it pairs naturally with the receiving positions in our serves for beginners guide: the serve decides how short the ball is, your in-step decides whether you answer it balanced or draped over the table.
The error that kills it — leaning in without stepping. The beginner sees the short ball, keeps both feet behind the end line, and folds at the waist, head dropping toward the table and racket stabbing down at the ball. There is no base, no backswing room and no exit. The second killer is staying in: playing a decent flick or push, then admiring it from inside the table’s airspace while the reply goes deep to the corner you just vacated. The pattern’s name is the whole lesson — in and out, every time, as one movement.
Solo shadow drill — step, touch, return. From base, step in with the racket-side foot and touch the table’s surface lightly with your free hand at full comfortable reach, mimicking the short-ball position; push back out to base; split-step; repeat. Three sets of 12, alternating a full step and a half step. Keep your head up and your weight on the front foot only for the instant of the “shot” — the return to base should feel like the spring releasing.
Partner drill — short-long ladder. Your partner feeds one short ball, then one deep ball, alternating. You step in for the short one, out and set for the deep one. Build to two minutes of continuous alternation, then let your partner randomise the order. The drill is doing its job when the deep ball after a short one stops catching you — that recovery step out is the movement being trained.
Pattern 4: The crossover step — intro level only
Eventually a ball beats the shuffle: a wide forehand that takes you beyond two shuffle steps, or a fast ball to the corner when you were caught over on the backhand side. The crossover is the emergency gear for that moment. To move right beyond shuffle range, push hard off the left foot and cross the left foot in front of the right, past it, toward the ball, landing on it wide of your body while the right foot trails and re-plants; your hips rotate open as you travel, so you arrive side-on to the table with your weight loaded on the outside leg, ready to swing as you land or in the step’s small pause.
Notice the honest trade. The crossover covers ground the shuffle cannot, in one committed movement — and commitment is the price. While your feet are crossed you cannot stop, change direction or play a controlled shot, and after the shot you are far from base with your body opened up, needing a shuffle or two to come home. That is why this pattern sits fourth, at intro level: learn to recognise the rare ball that needs it and to execute a tidy version, but treat it as the exception. Coaches disagree on many things; on this they are close to unanimous — if you are crossing over often, the earlier patterns are failing: you are starting late, standing too far from a sensible base, or shuffling too slowly. Fix those first.
When it is used: for the genuinely wide forehand when you choose to take it on the forehand rather than cover it with the backhand, and when a rally pushes you wide and the next ball goes wider still. Right-handers cross almost exclusively toward the forehand corner; the backhand side is normally protected by the shuffle plus the backhand stroke’s natural reach across the body — one reason a sensible base position sits slightly to the backhand side of centre.
The error that kills it — crossing too early. Beginners discover the crossover and start using it for balls the shuffle would have reached comfortably, because one big step feels faster than two small ones. It is not faster to recover from, and every early crossover spends the balance the shuffle was designed to protect. The partner error is crossing behind — stepping the moving foot behind the standing one — which turns your hips away from the table and leaves your racket trailing the ball. The crossover passes in front, hips opening toward the shot.
Solo shadow drill — cross and hold. From base, shuffle one step right, then cross over into a wide forehand shadow swing, and freeze for two seconds in the finish position: weight on the outside leg, hips open, racket through the ball’s line. The freeze exposes wobbles that momentum hides. Recover to base with two shuffles. Three sets of 6, both the movement and the freeze slow and deliberate — this is a form drill, not conditioning.
Partner drill — wide corner rescue. Your partner feeds one ball to your backhand area, then one genuinely wide to the forehand corner. Shuffle for the first, cross for the second, then recover fully before the next pair. One bucket of balls, then swap. Keep the wide feed honest — if it is reachable by shuffle, it is the wrong feed; the drill exists to groove the recognition as much as the step.
Pattern 5: Recover to base — the habit that joins them all
The first four patterns are steps. The fifth is not a step at all; it is the discipline that makes the others worth learning: after every shot you play, return toward your base position — immediately, before you know where the next ball is going. Recovery is not a walk back to a marked spot. Your base is a small zone, not a point, and it shifts with the rally: if you have just been pulled wide to the forehand, your recovery target is a step inside where you finished; if you stepped in for a short ball, recovery is the step back out from Pattern 3. The rule is directional, not geographic — always be travelling home when the opponent strikes.
Recovery is powered by the same machinery as everything else in this guide. You finish your stroke balanced — which the earlier patterns guarantee — then a small push from the outside foot and one or two shuffle steps re-centre you while the ball is still on the opponent’s side. Then the split-step lands as they contact, and the loop closes: ready, move, hit, recover. Watch a strong club player between shots and this is what you are seeing. They look unhurried not because the ball is slower for them, but because they are never still in the wrong place; the work happens in the dead time while the ball travels away.
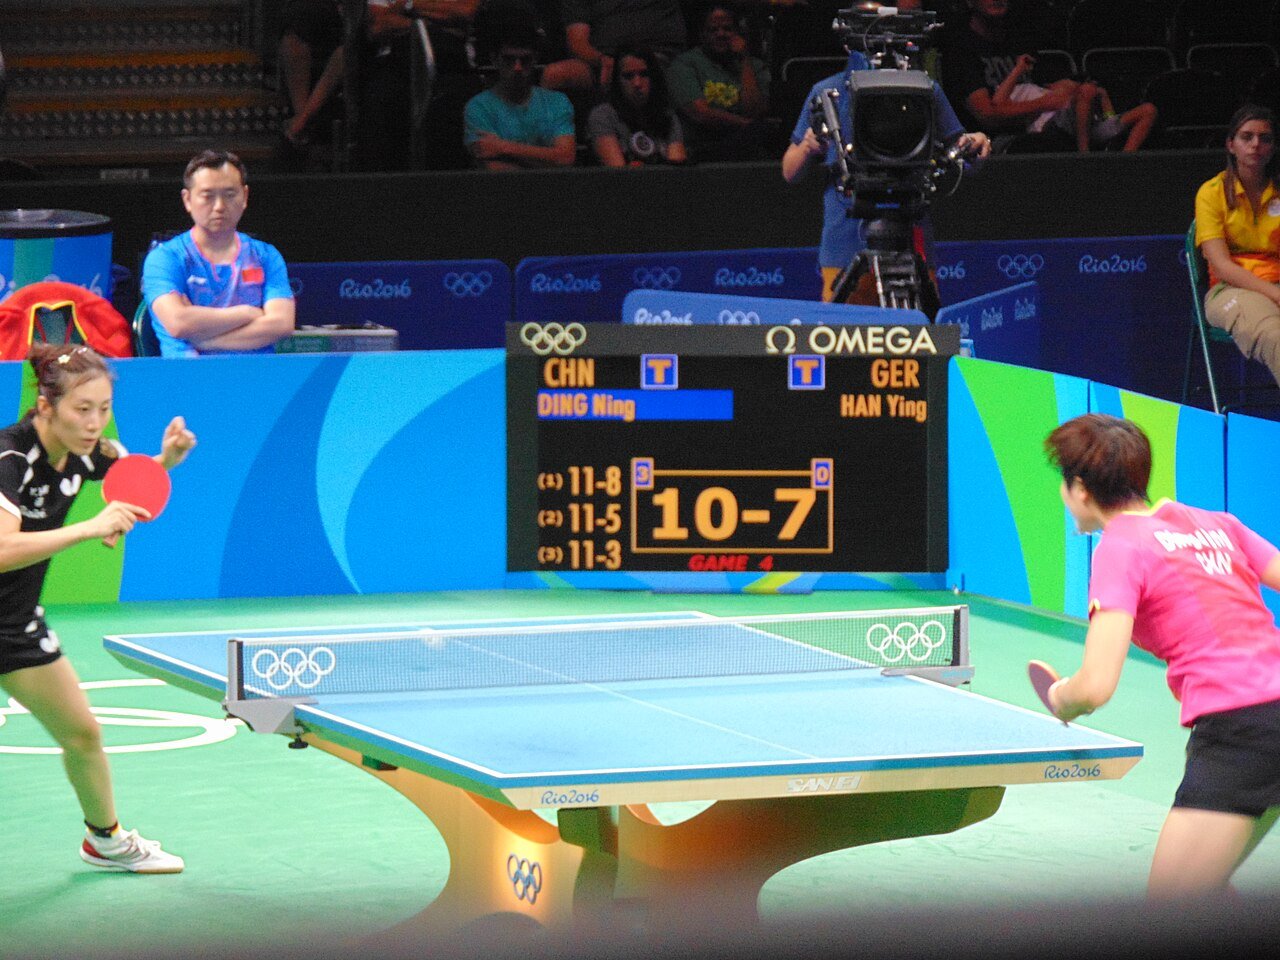
When it is used: after literally every shot, including the ones that felt like winners. Especially those. The beginner’s rally most often ends not on a brilliant opponent’s shot but on an ordinary one played to the space the beginner left behind two shots ago. Base discipline is also what makes your opponent’s life harder: a player who visibly recovers takes away the open court as a target, and rallies start lasting long enough for your strokes to matter.
The error that kills it — standing flat after hitting. The shot goes over, and the player stays exactly where they played it — feet planted, racket down, weight settled — watching the ball instead of resetting. Flat feet plus a finished swing means the next move starts from zero: no loaded legs, no shuffle shape, no split-step. Every pattern in this guide then arrives a half-beat late, and the player concludes their footwork is “too slow” when the actual fault was the two seconds of stillness between shots.
Solo shadow drill — hit and home. Shadow a full rally against an imaginary opponent: from base, split-step, shuffle right, forehand swing, recover, split-step, shuffle left, backhand swing, recover, split-step, step in, flick motion, step out, recover. Run the sequence continuously for 60 seconds, rest, and repeat four times. The swings can be lazy; the recoveries cannot — every return to base must be brisk and complete, with the split-step on an imagined contact.
Partner drill — the recovery point game. Play ordinary rally practice (or a practice match) with one house rule: after each shot, you must visibly move back through your base zone before playing the next ball — if your partner can catch you playing two consecutive shots from the same planted position, the point is theirs. Ten minutes under this rule rewires the habit faster than any lecture, because the cost of standing still stops being theoretical.
The five patterns at a glance
| Pattern | Use it when | The movement | The killer error |
|---|---|---|---|
| 1. Ready position & split-step | Before every ball your opponent plays | Low, wide stance; tiny hop landing as the opponent contacts the ball | Standing flat and upright, weight on the heels, first move always late |
| 2. Side-shuffle | The ball goes one or two steps to either side | Push, step, close — stance width and hip height unchanged, feet never cross | Reaching and leaning instead of moving; crossing the feet to go faster |
| 3. In-and-out | The ball bounces short and would drop twice on your side | Step in with the racket-side foot, play the shot, step straight back out | Leaning over the table without stepping; staying in after the shot |
| 4. Crossover | A genuinely wide ball beats the shuffle — rarely, at this level | Push off hard and cross the trailing foot in front, land open and loaded | Using it for shuffle-range balls; crossing behind instead of in front |
| 5. Recover to base | After every single shot you play | Push from the outside foot, shuffle back toward base, split-step on their contact | Standing flat to admire the shot while the next ball goes elsewhere |
Chaining patterns in a real rally
Patterns are vocabulary; rallies are sentences. A typical beginner rally might read: split-step as they serve — step in for a short receive — back out and recover — shuffle right for the drive — recover — split-step — shuffle left for the backhand. Four patterns, no drama, and every shot played from balance. Two principles keep the chain unbroken. First, recovery is part of the previous pattern, not the start of the next one: the step out of the in-and-out, the shuffle home after the wide ball — build them into the movement itself so returning never feels like a separate task you can skip when tired. Second, let the split-step be the chain’s punctuation: it ends each recovery and begins each read, and if you keep its timing glued to the opponent’s contact, the rest of the chain mostly schedules itself.
How far away should you play? Beginners are often told to stand further back to “give themselves time”, and it backfires: extra distance makes every angle wider, lengthens every shuffle, and hands the short ball a free win. Your base an arm’s length from the end line is close enough that the table defends half the angles for you. Only step back deliberately — a half-step, shuffling — when an opponent’s fast, deep ball repeatedly jams your body, and treat that as a match-up adjustment, not a new home. Incidentally, no rule pins you anywhere: you may move around and even beyond the table’s edges during a rally, which the rules guide covers in full — the end line constrains the serve, not your feet.
A word on equipment, kept short because this is a movement guide: footwork is one of the few places where gear genuinely changes the skill. The shuffle and split-step ask your shoes to grip, stop, and let you push off sideways many times a rally — a sole that slides on a dusty hall floor, or a running shoe’s tall, soft heel that rolls when you plant sideways, will quietly sabotage every pattern above. That is the one place court grip matters, and our guide to the best table tennis shoes covers what to look for. Your blade, by contrast, cannot move your feet: a balanced setup you already own is fine, and if you are choosing one, the table tennis blades guide explains the options — but buy it for your strokes, not as a footwork fix. No purchase substitutes for the split-step.
A simple week of footwork practice. You do not need extra sessions — bolt ten minutes onto the sessions you already have. Twice a week, run the solo shadow drills as a circuit: contact hops, line-to-line shuffles, step-touch-return, and hit-and-home, two rounds each. Once a week with a partner, pick two partner drills from the patterns you are weakest on. In matches, grade yourself on one thing only — did you split-step on their contact? — for a fortnight. The patterns layer in the order this guide teaches them; resist skipping to the crossover because it looks advanced. It is the least-used pattern here, and the player who masters the first, second and fifth will beat the player who only owns the fourth.
The verdict: move first, hit second, recover third
Beginner table tennis is not a hand-speed contest lost by slow hands. It is a positioning game lost by still feet. Build the loop in this order and the rest of your technique starts working as designed:
- Start every exchange at base: low, wide, weight forward, racket up.
- Split-step on their contact: land as they strike and every direction stays open.
- Shuffle by default, step in for short, cross only in emergencies: the smallest pattern that reaches the ball wins.
- Recover before you watch: travel home while the ball is away, and the next pattern starts on time.
Table tennis footwork — FAQs
What is the most important footwork skill for a table tennis beginner?
The split-step, timed to land as your opponent contacts the ball. It costs nothing athletically — a hop of a few centimetres — but it converts standing into readiness: your weight is forward, your legs are loaded, and you can push off in either direction. Every other pattern in this guide starts from it, and most beginners’ “slow feet” are really a missing split-step rather than slow legs.
How far from the table should a beginner stand?
About an arm’s length behind the end line is a sound default. From there you can take most balls at or just after the top of the bounce, step in for short balls with one step, and still have room to swing. Standing much further back feels safer but widens every angle, lengthens every move and concedes the short ball; standing closer jams fast balls into your body. Adjust by a half-step for opponents who repeatedly play very fast and deep, then return to the default.
Why do coaches say never cross your feet in table tennis?
Because a crossed stance cannot stop, reverse or support a swing — for the moment your feet are crossed you are committed to one direction with no base. The shuffle keeps your feet in order and your stance wide, so you can halt mid-move or change direction. The one exception is the deliberate crossover for a ball that has beaten the shuffle, taught in this guide as an introductory, occasional pattern — the rule is against crossing as a habit, not against the emergency step itself.
Which foot steps in for a short ball?
Your racket-side foot — the right foot for a right-handed player. Stepping in with it opens your hips and frees your racket arm over the table, while the other foot stays back as an anchor and the same leg powers the step straight back out to base. Stepping in with the opposite foot twists your body across the shot, crams the racket against your ribs and makes the recovery slower.
How do I stop reaching for wide balls instead of moving?
Reaching is a timing problem before it is a discipline problem: the reach happens when you start moving on the ball’s arrival instead of on the opponent’s contact. Train the trigger with the split-step — land as they strike, and the shuffle starts half a second earlier, which is usually the whole difference. The two-point forehand partner drill in this guide grooves exactly that trigger, because the feed punishes any rally in which you lean instead of shuffling.
Do I need special shoes for table tennis footwork?
You need grip and a low, stable base more than you need a label. Footwork patterns involve constant small sideways plants and push-offs, so a shoe that slides on hall floors, or a tall cushioned running shoe that rolls at the ankle when you plant sideways, will undermine the shuffle and split-step. Thin-soled indoor court shoes with a grippy gum-rubber outsole are the standard choice; our table tennis shoes guide compares the current options.
How often should a beginner practise footwork?
Briefly and often, attached to sessions you already play: around ten minutes of shadow drills two or three times a week builds the patterns faster than a rare, exhausting footwork-only session, because the movements are simple and the skill is in the timing and habit. Add one partner-drill session a week, and spend a fortnight of matches consciously grading only your split-step timing — the patterns consolidate in the order taught here over a few weeks of that rhythm.
About this guide: The technique taught here follows standard coaching practice for beginner table tennis footwork: one ready position and split-step, then the side-shuffle, the in-and-out step, an introductory crossover, and the recover-to-base habit. Strokes and serves are deliberately not taught — the serve guide on this site owns serve execution and the rules guide owns the laws. Drill ball counts and session lengths are practice prescriptions, not performance statistics, and no movement here is described as tested or measured. This page links only to guides on Alishuttler.com — any affiliate relationships are disclosed on the pages concerned.